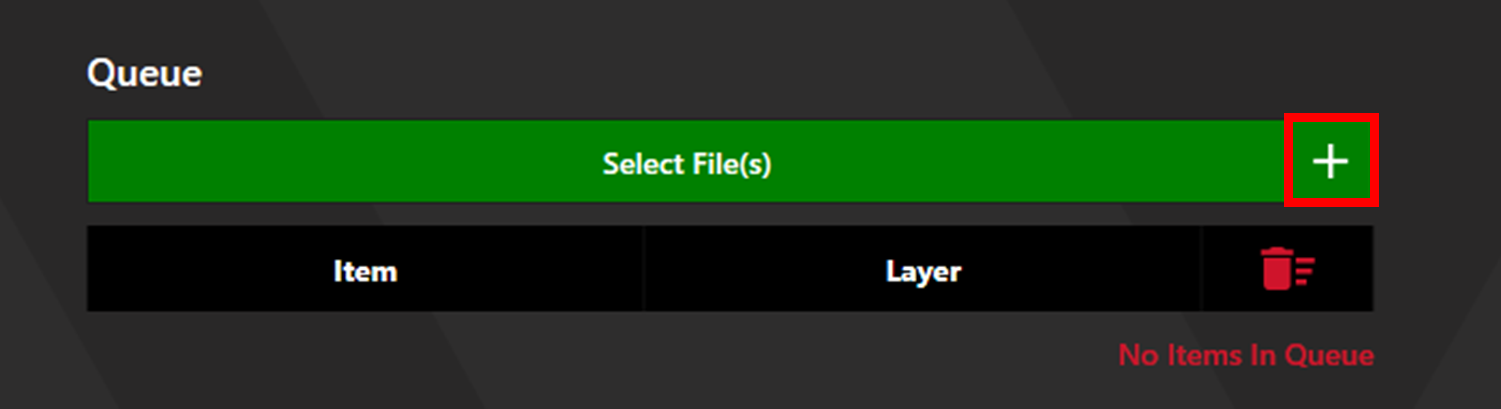
Click the plus button next to the Select Files button to access Unique Item Select, then select Barcode.

The QR code window will open. Input the desired string in the Data box.
Select the type of barcode using the dropdown menu.
The width option sets the size of the QR code in mm. The Centre X and Y options set the coordinates of the centre of the QR code. The plotter will display the chosen size and location of the QR code.
Toggle the background and adjust margin size using the Background Settings. Click save.

Layers will automatically populate as the QR background (if enabled) and the QR string. Ensure both layers are set to mark, and that the correct recipes are selected. Details on how to adjust and create marking recipes, including sample recipes used for QR codes, can be found here.

If alignment is required, add an alignment file by clicking Select File(s). Set the Layer to Alignment. Click Continue to proceed to Alignment. If alignment is not required, click continue to proceed to the Output screen.

Align to the fiducials. More detail on how to align to fiducials can be found here. Once alignment is complete, click Continue to proceed to the Output screen.

Select Preview to view the marking path highlighted by the Guide. If the marking path location appears correct, lower the cone then select Output to begin marking.
