
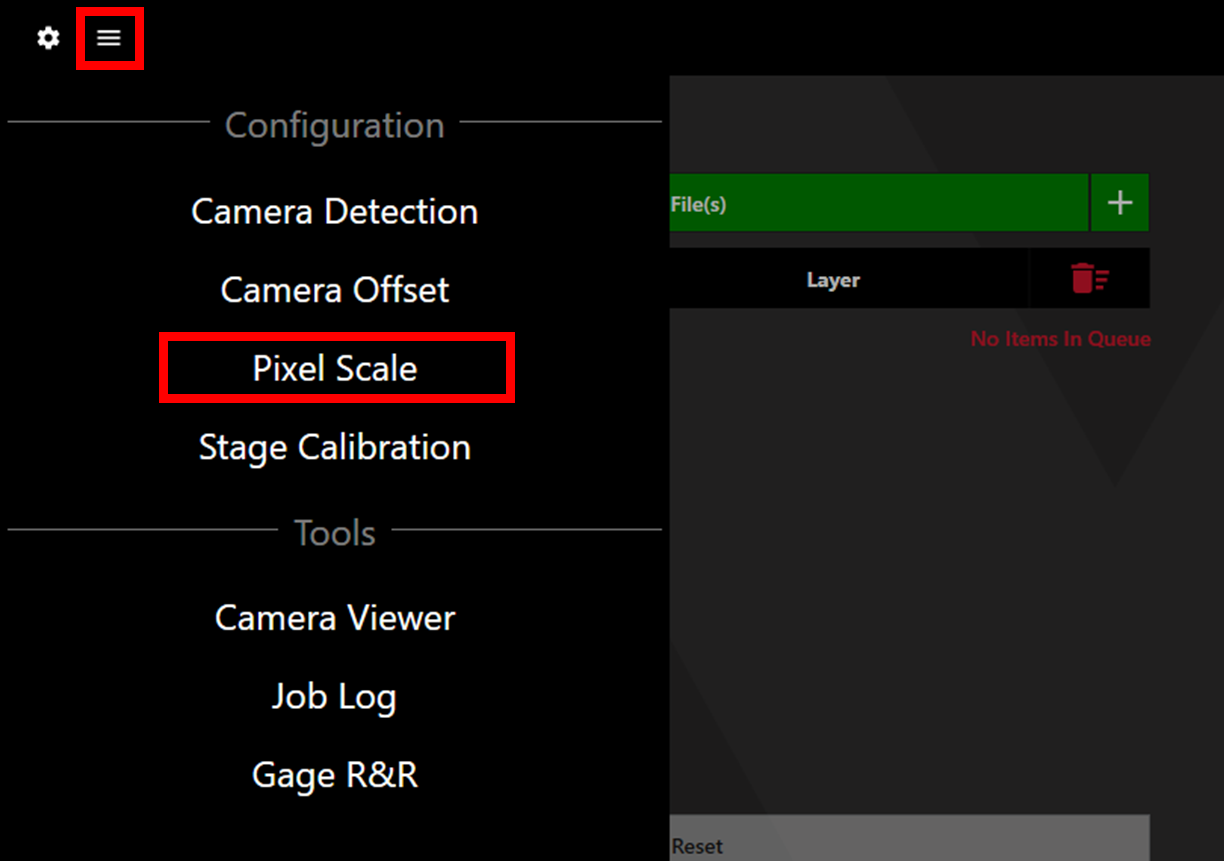
Step 1: Access pixel scale
Click the menu button in the upper left corner, then select "Pixel Scale".
Step 2: Align to an aperture
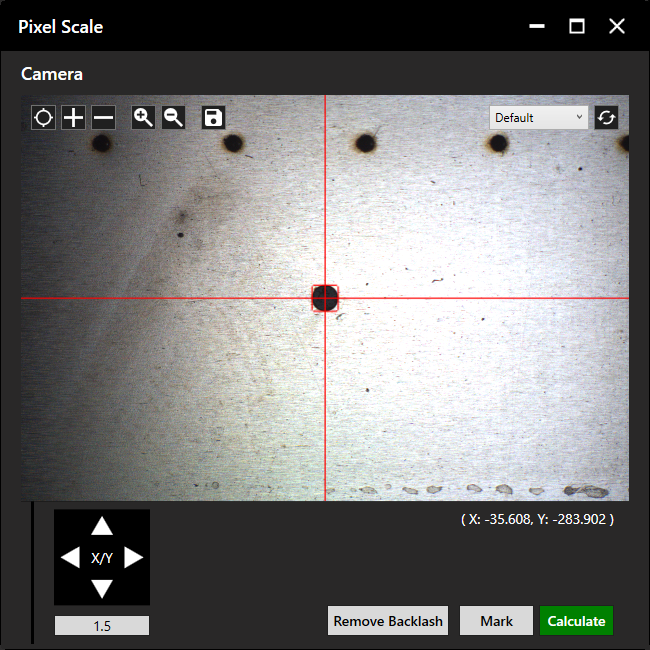
To calibrate the pixel scale, you must first align to an aperture or marking. More detail on alignment can be found here.
You can use an existing aperture on a stencil, such as a fiducial.
If there aren't any apertures or markings, you can select "Mark" and one will be output by the scanner.
Note: The QC100 cannot produce a mark, meaning an existing mark or aperture is required.
Align to your chosen aperture/marking and click "Calculate".
Step 3: Calculating the pixel scale
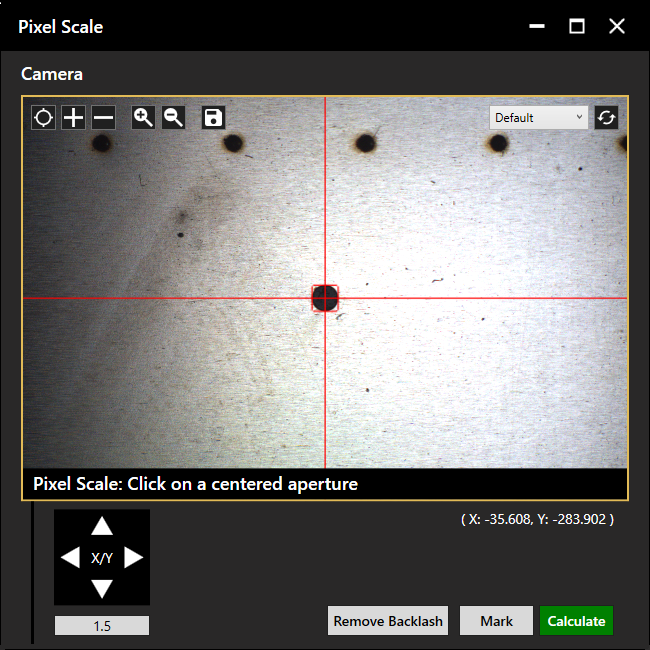
The app will then prompt you to click on the aperture you are aligned to (the one in the centre of the image).
If you click the aperture and receive an error, realign or align to a different aperture, and try again.
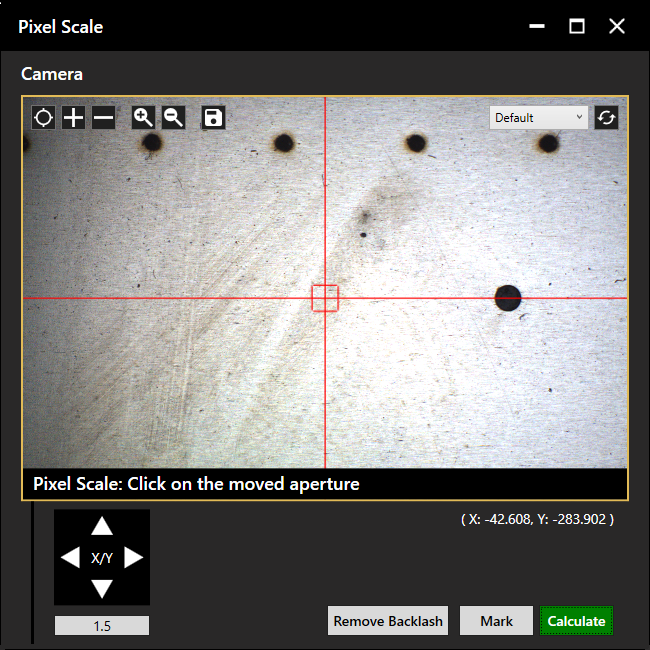
If successful, the machine will move the camera to the left, and prompt you to click on the aperture again.
You must click on the same aperture as before, at its new position.
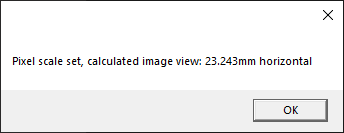
The following message will then appear to confirm calibration was successful.
Machines with two cameras (SE12 Pro and QC100) require Pixel Scale calibration to be conducted for each camera. To switch to the second camera for pixel scale calibration, click on the circular arrows in the top right corner of the pixel scale window. Note: The SE12 only has one camera.