TABLE OF CONTENTS
Field Of View calibration is essential for producing the most accurate welds. It also helps improve the accuracy of marking and structuring.
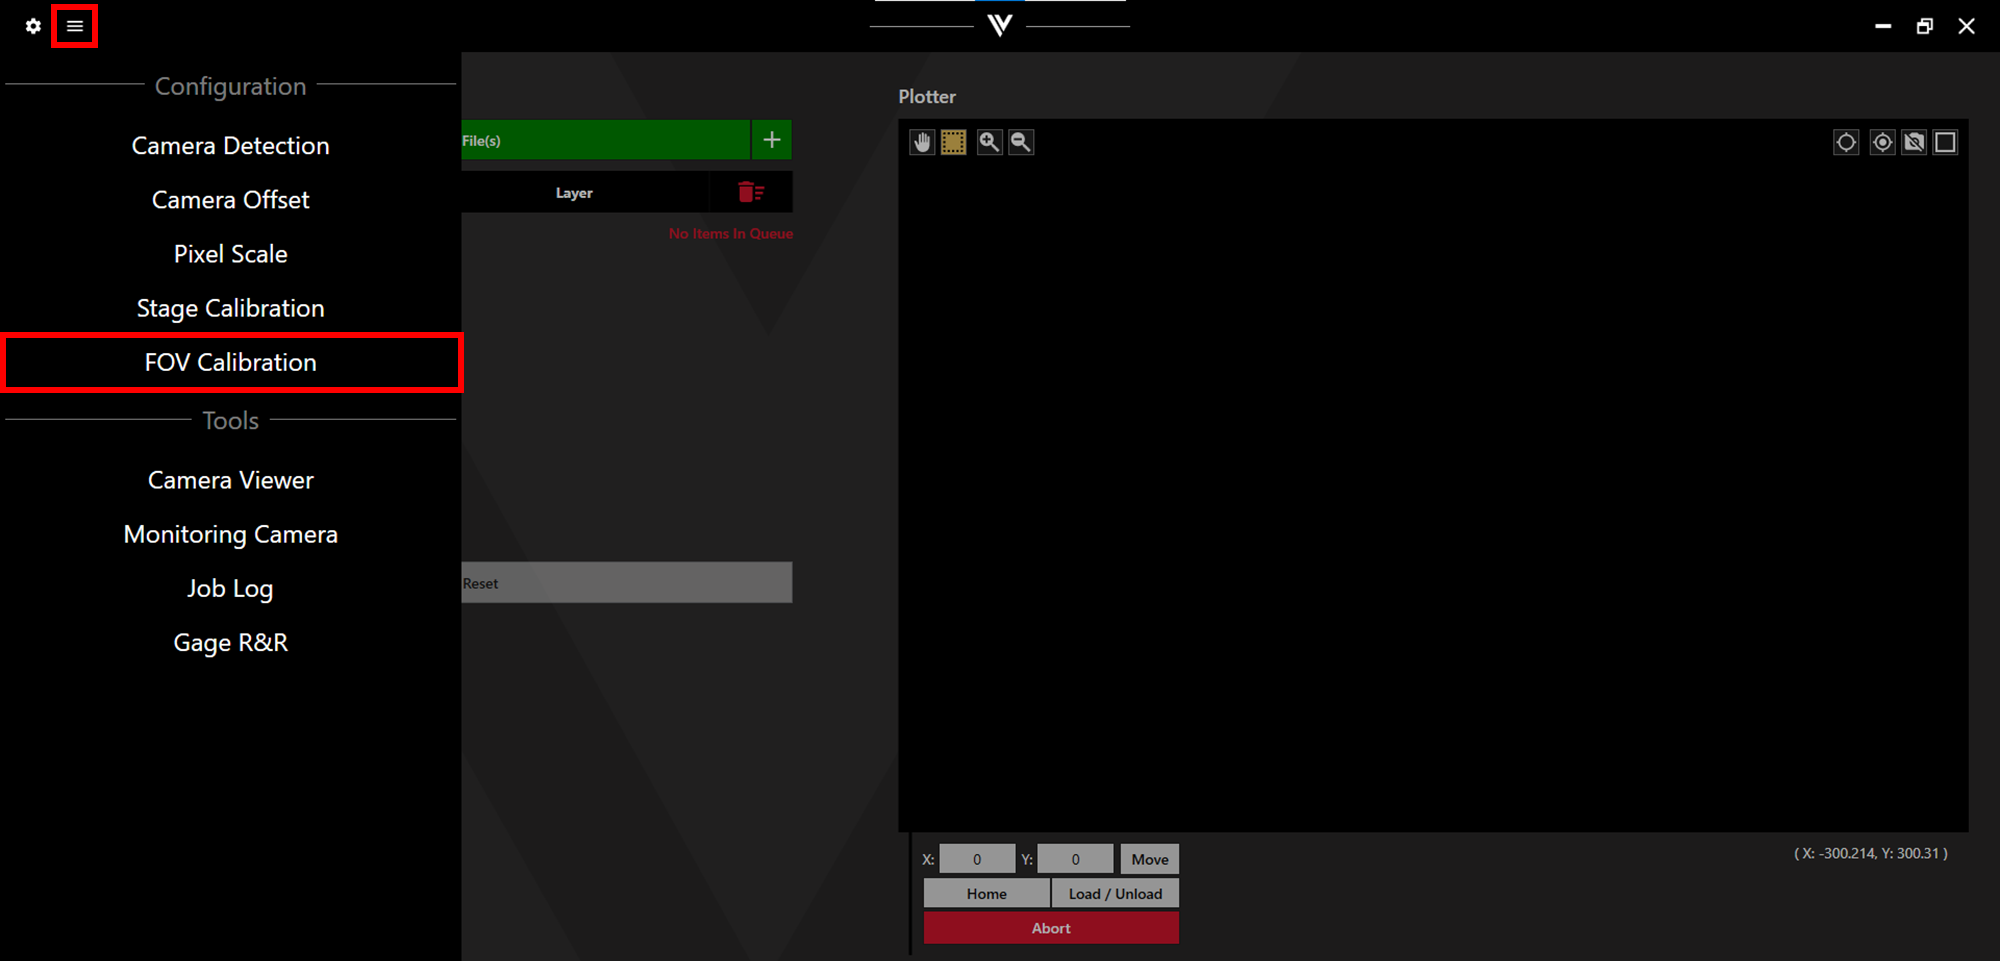
Access FOV Calibration via the menu button at the top left of the Watt Laser Suite App.
1. Loading FOV Calibration from the Legacy App
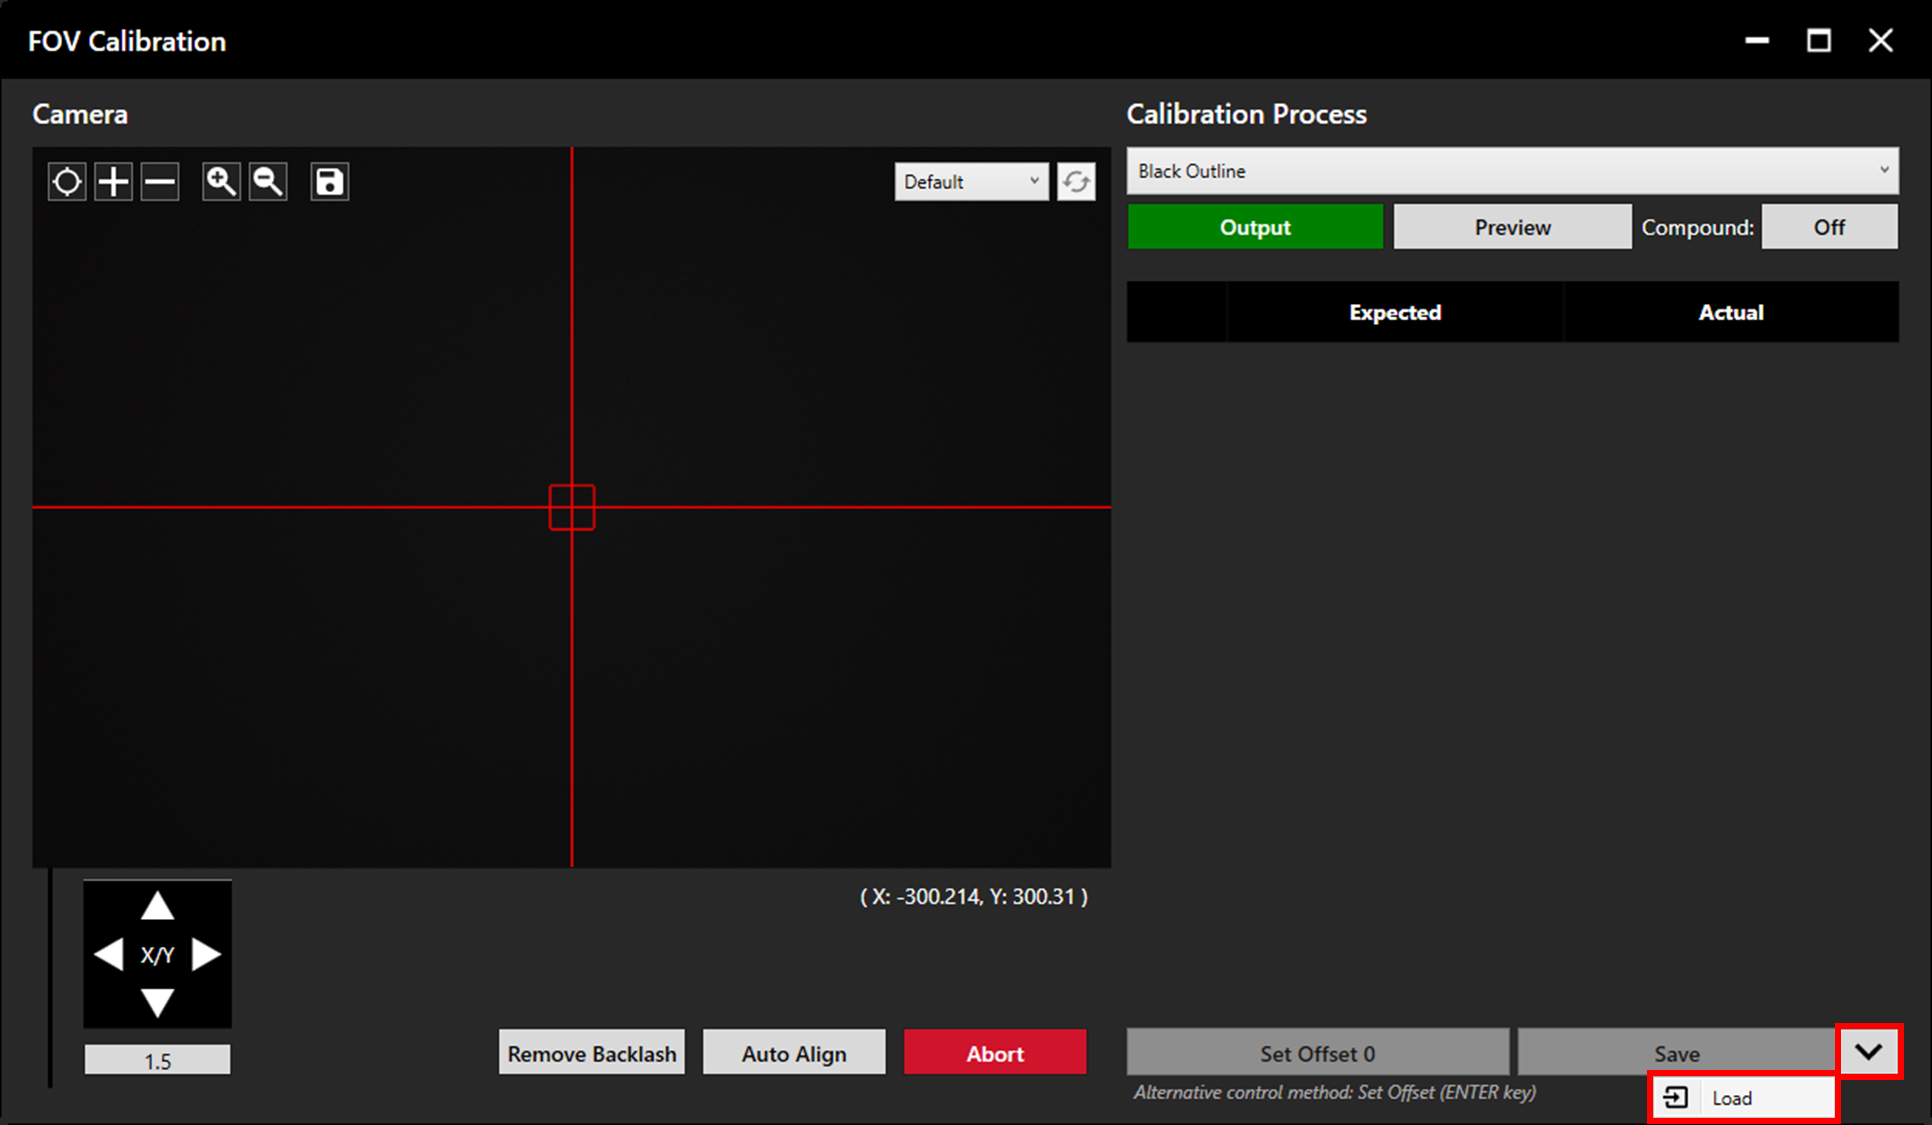
If FOV calibration has been completed on the Watt Laser Legacy app, this can be loaded in directly by clicking the dropdown next to Save, then Load.
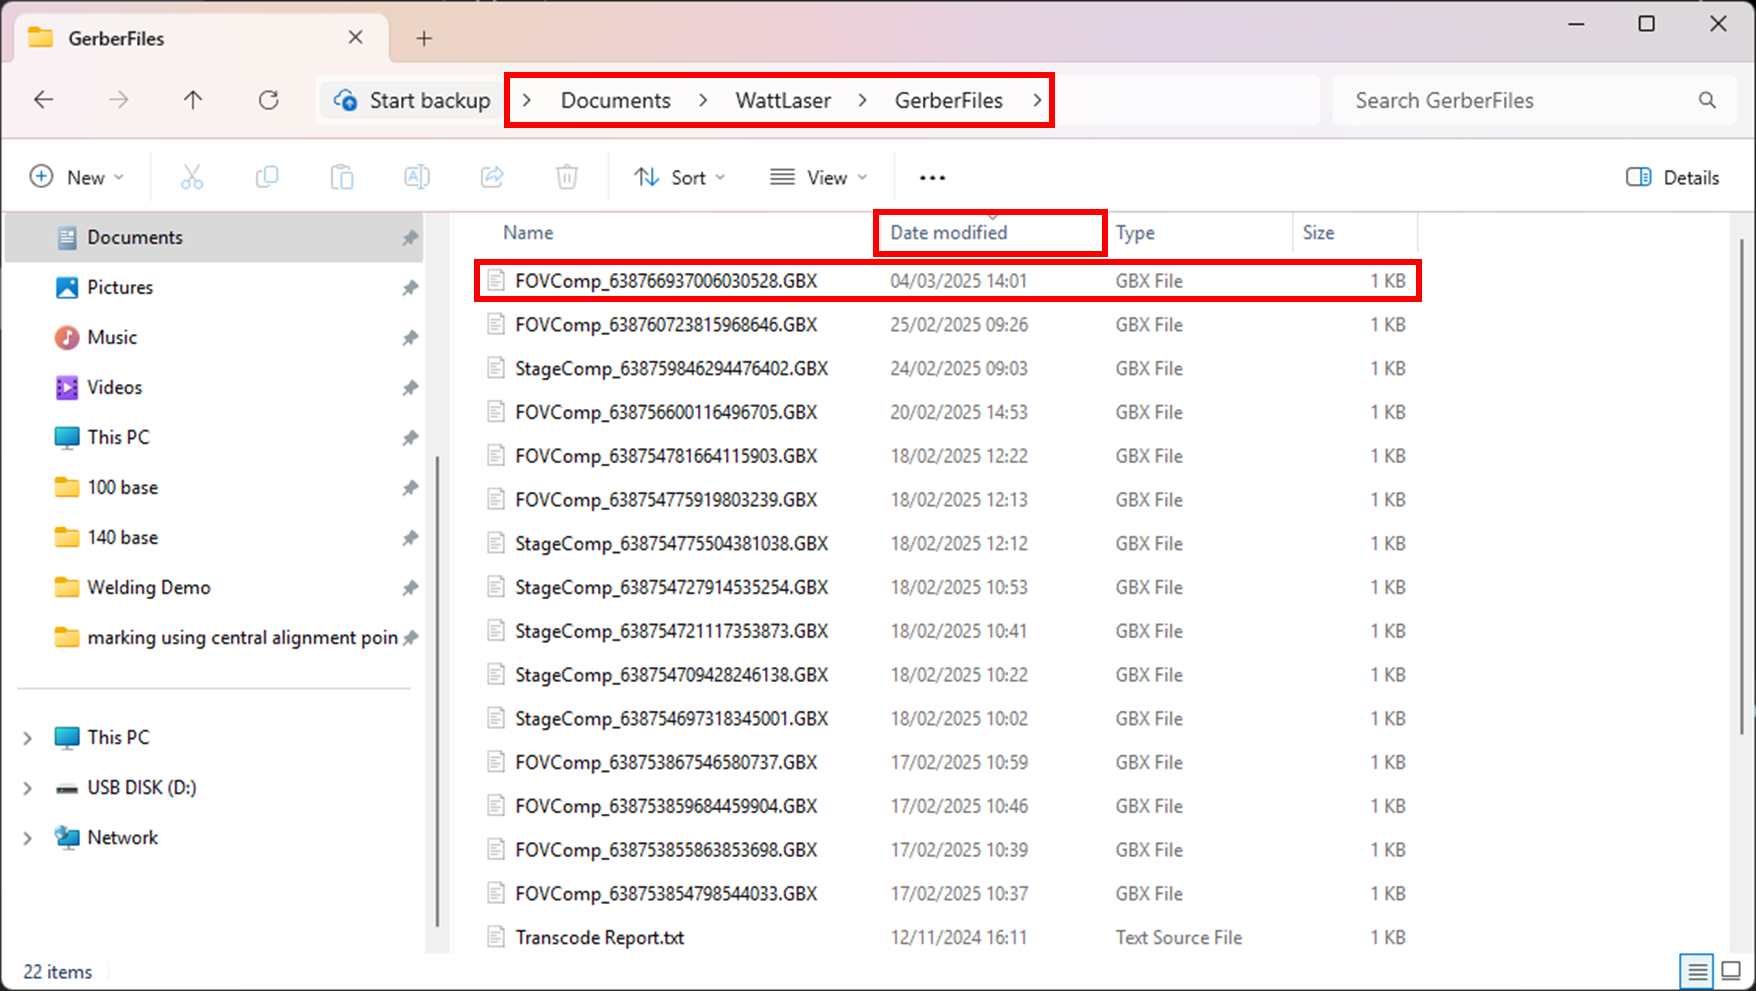
FOV Calibration files are stored in Documents > WattLaser > Gerber Files. Ensure the most recent file is selected.
2. Running a New FOV Calibration
If running a new FOV calibration, load a stencil onto the machine and secure in place with the vacuum.
Use the X/Y arrows to position the laser over an area of the stencil which is on the vacuum table. From the dropdown menu, select an appropriate recipe (a recipe which produces a black outline is generally ideal).
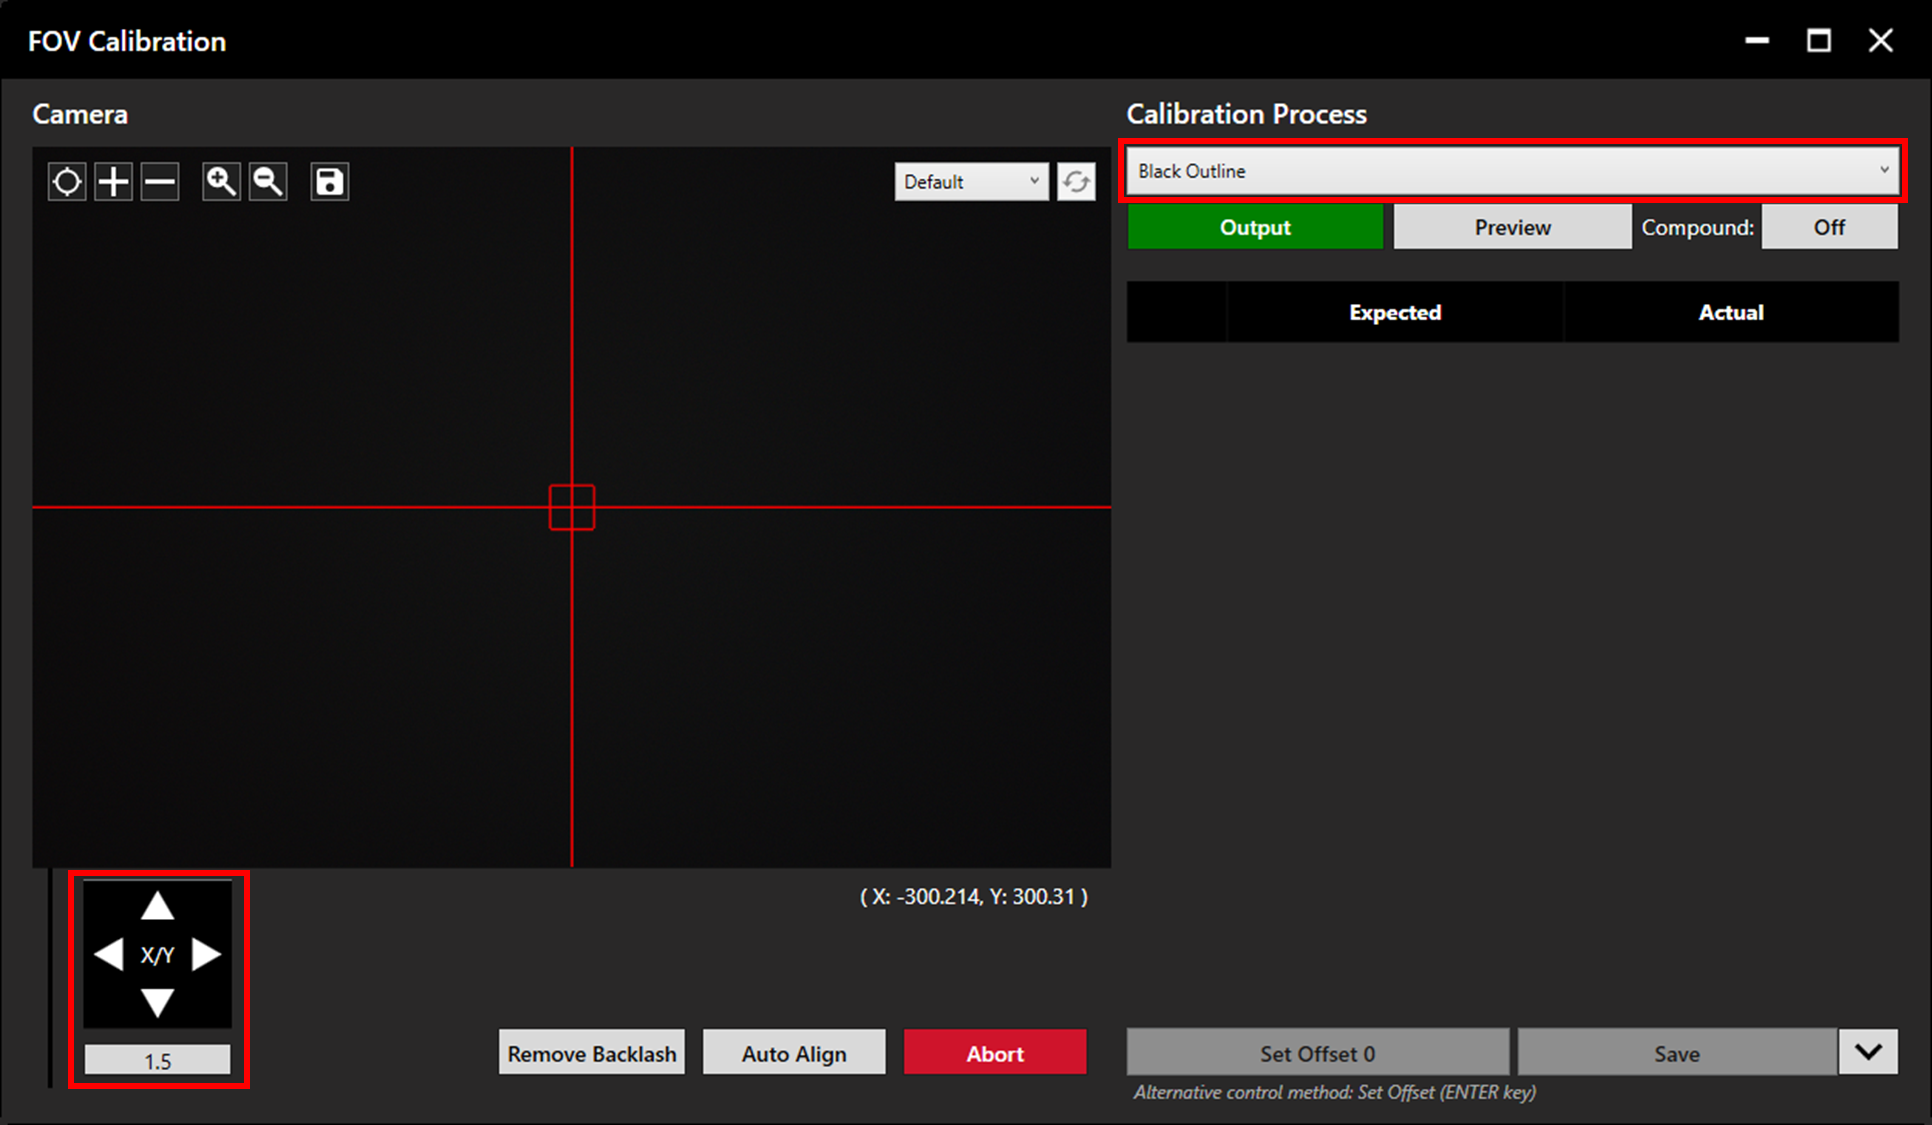
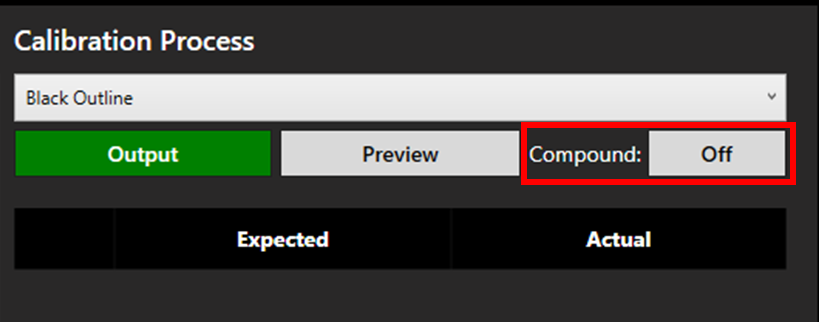
If this is the first time conducting FOV calibration, ensure Compound is set to Off. Otherwise, set it to On.
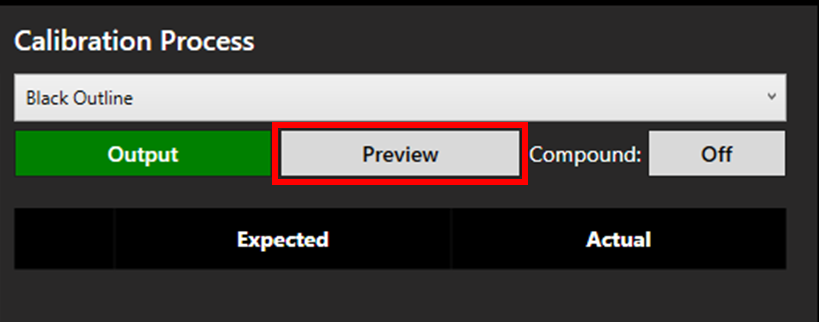
Click Preview and check that all points will land on a clear, vacuumed area of the stencil.
Important: There should not be any machine motion during the preview - all 25 points should be displayed in on field of view. If this is not the case, please create a support ticket.
If there is no issue with the preview, click Output to mark the points.
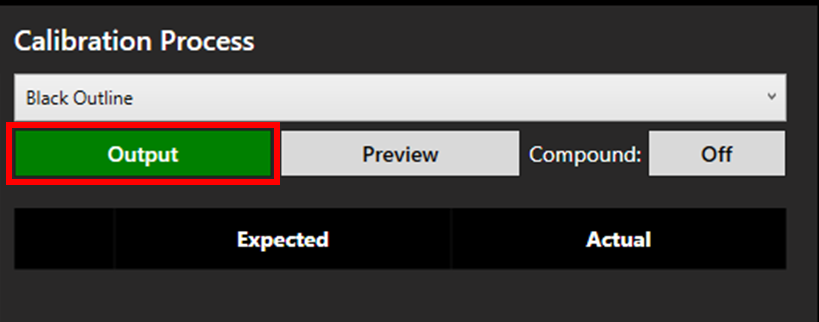
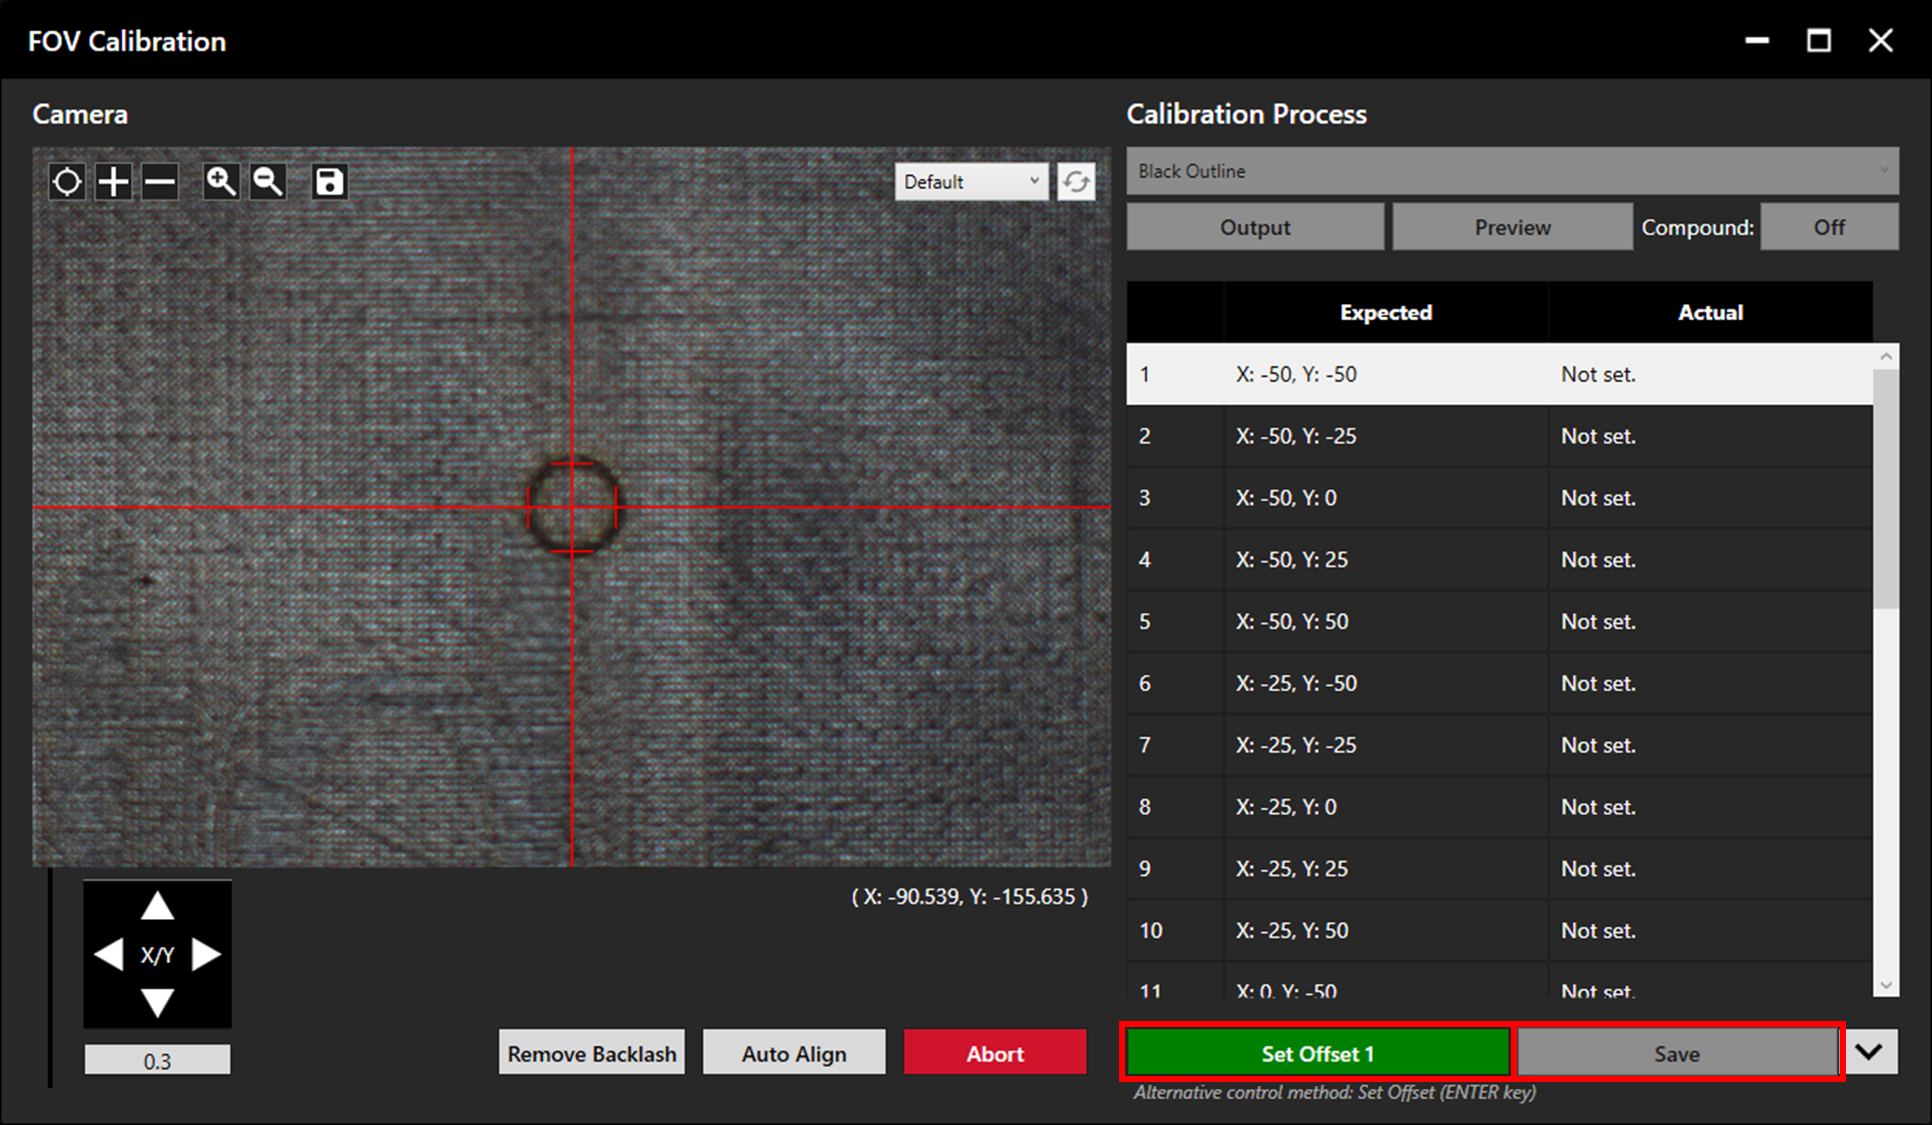
Following output, the camera will jog to the expected location of the first point. Align, then click Set Offset 1. The camera will then move to the second point. Repeat this process for all 25 points, then click Save.