
TABLE OF CONTENTS
- Step 1: Open the camera settings
- Step 2: Adjust the camera settings
- Step 3: Check the camera feed
- Step 4: Detection Calibration
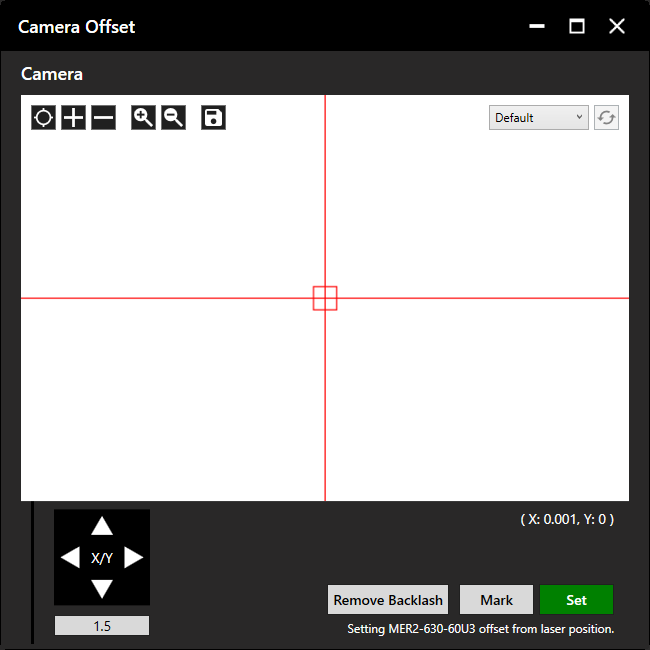
If you find the camera image is too bright or dark, you will need to calibrate its lighting settings.
See below for an example of an overexposed camera image.
Step 1: Open the camera settings
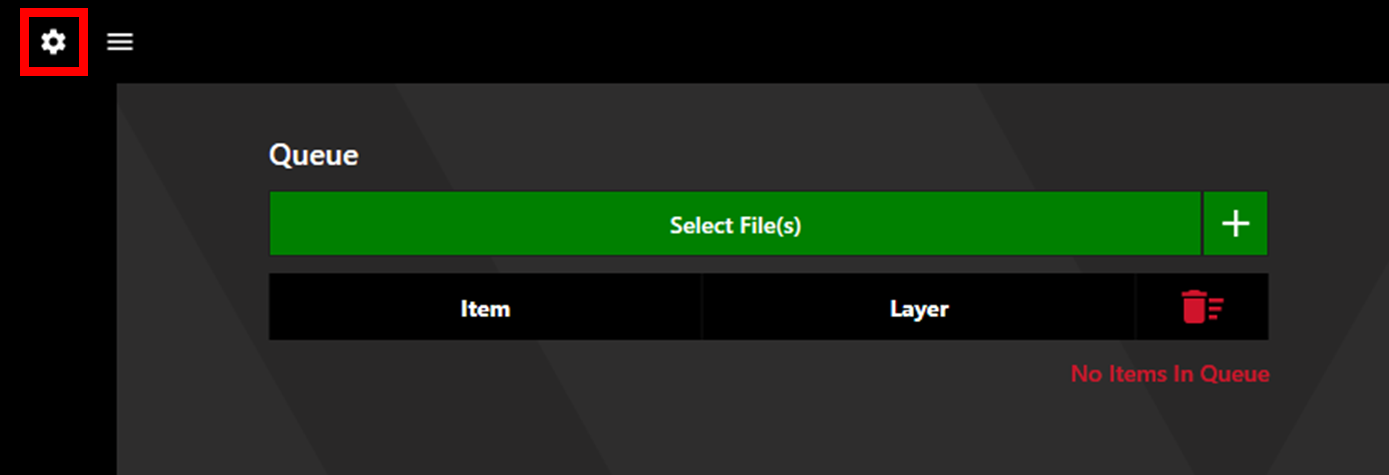
Click the settings cog in the upper left corner.
Select the "Camera" tab along the top of the settings window.
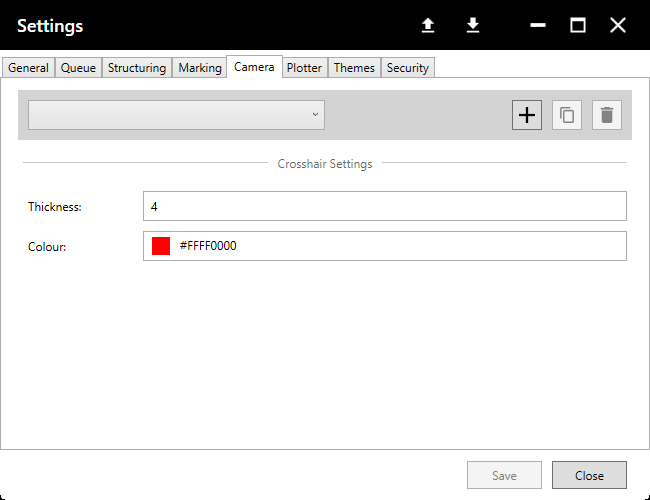
Then select "Default" from the drop down at the top (underneath the tabs).
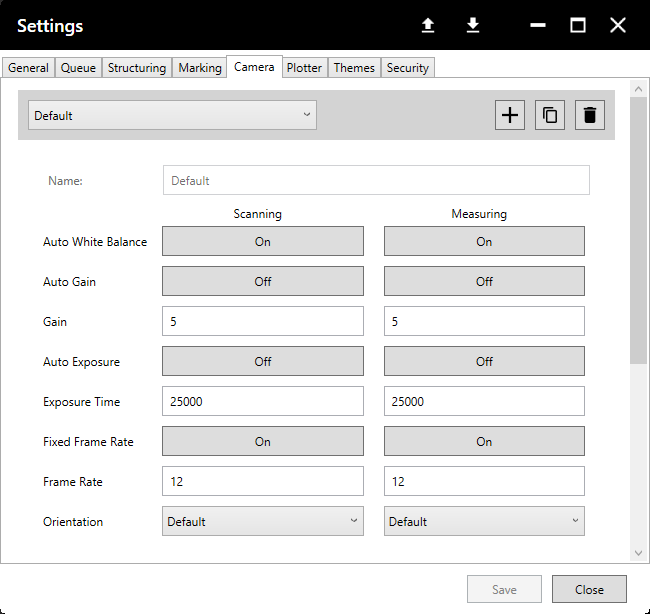
Additionally, a new camera settings recipe can be created using the "+" icon. Recipes can be duplicated and deleted using the copy and delete buttons. Set a recipe to the new default by clicking the bookmark icon.
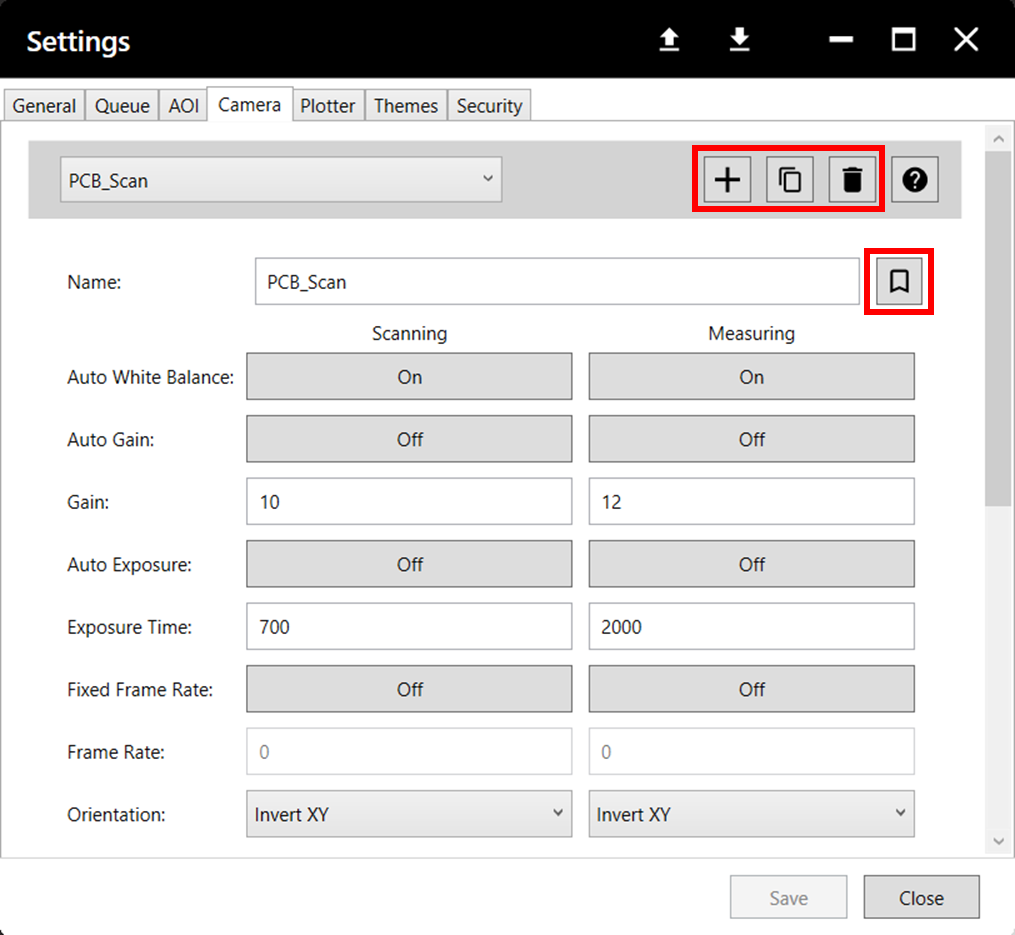
Step 2: Adjust the camera settings
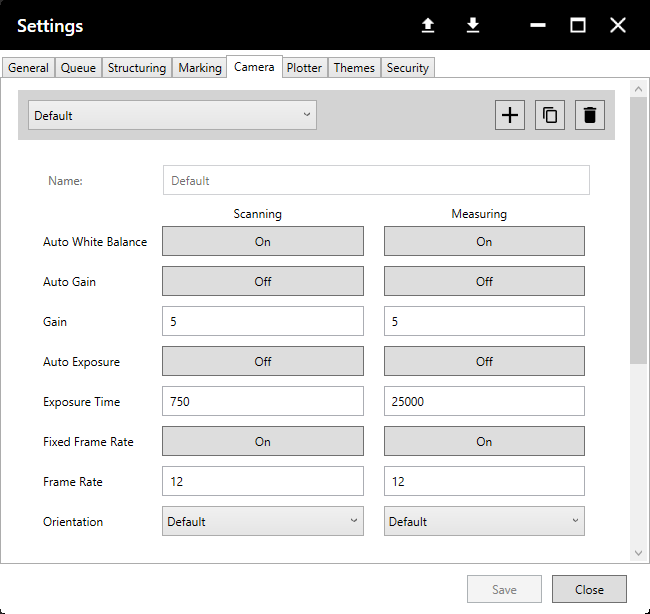
If your machine only has one camera, you just need to adjust the settings in the "Scanning" column.
Otherwise, the "Measuring" column will correspond to the second, high magnification, camera.
If you find that the camera image is too bright, you will need to decrease the Gain/Exposure time.
Conversely, if the image is too dark, you will need to increase these values.
Example of reduced settings below.
If you find that the frame rate of the camera feed is too slow, you will need to reduce the exposure time of the camera.
This will reduce the brightness of the image, but gain can be increased to compensate, without compromising the frame rate.
Step 3: Check the camera feed
It is possible to keep another pop-up window open, such as the camera offset window, while adjusting the lighting settings.
This will allow you to track the changes the settings make more easily.
Select "Save" and check the feed to see if further adjustments are required.
If the image looks good, you can close the settings window and continue.
The lighting settings are now calibrated.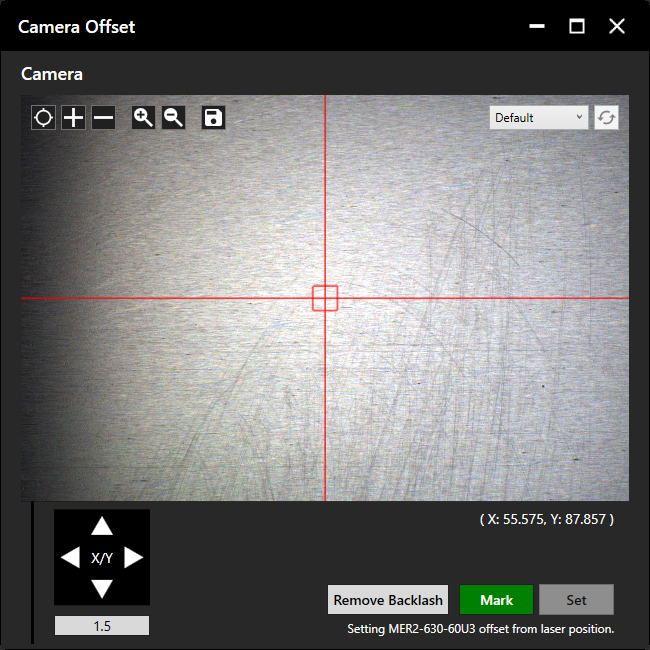
Step 4: Detection Calibration
After creating or adjusting camera settings, the detection settings may need to be updated. Details on how to do this can be found here.