This process take place following the setup process, which consists of Selecting Frame Size and Setting the Centre.
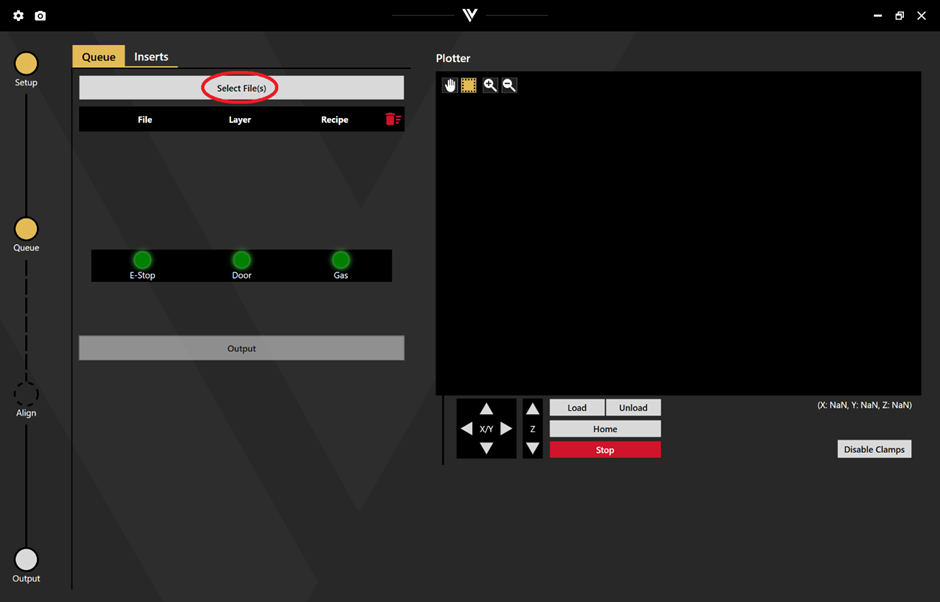
To add the Gerber files to be processed click select file(s). Select all files that you want to process.
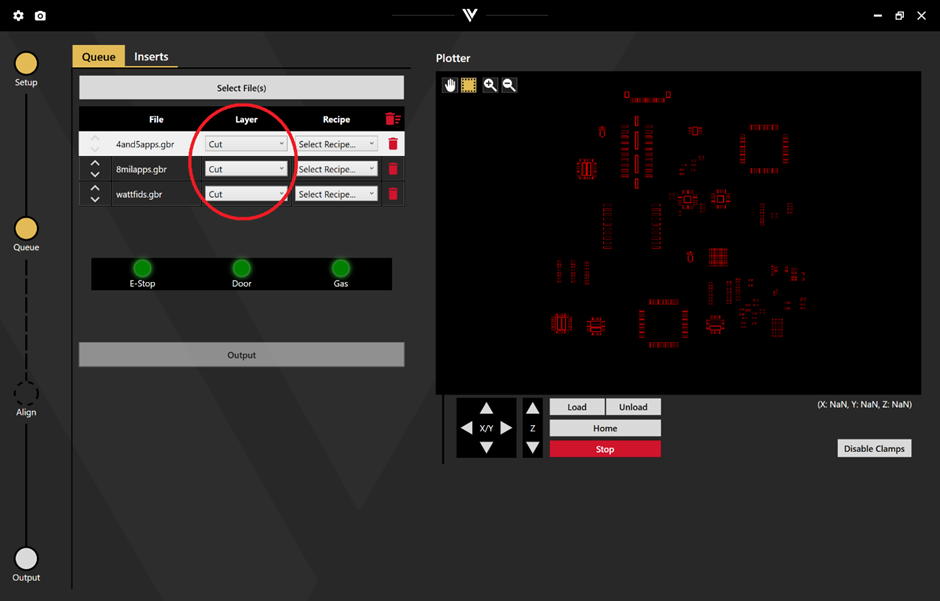
If you use the allocated file extensions, the layers will automatically populate with the correct function (.1 for cutting inside, .5 for marking, .12 for alignment, .20 for cutting outside). If not, the process can be manually selected.
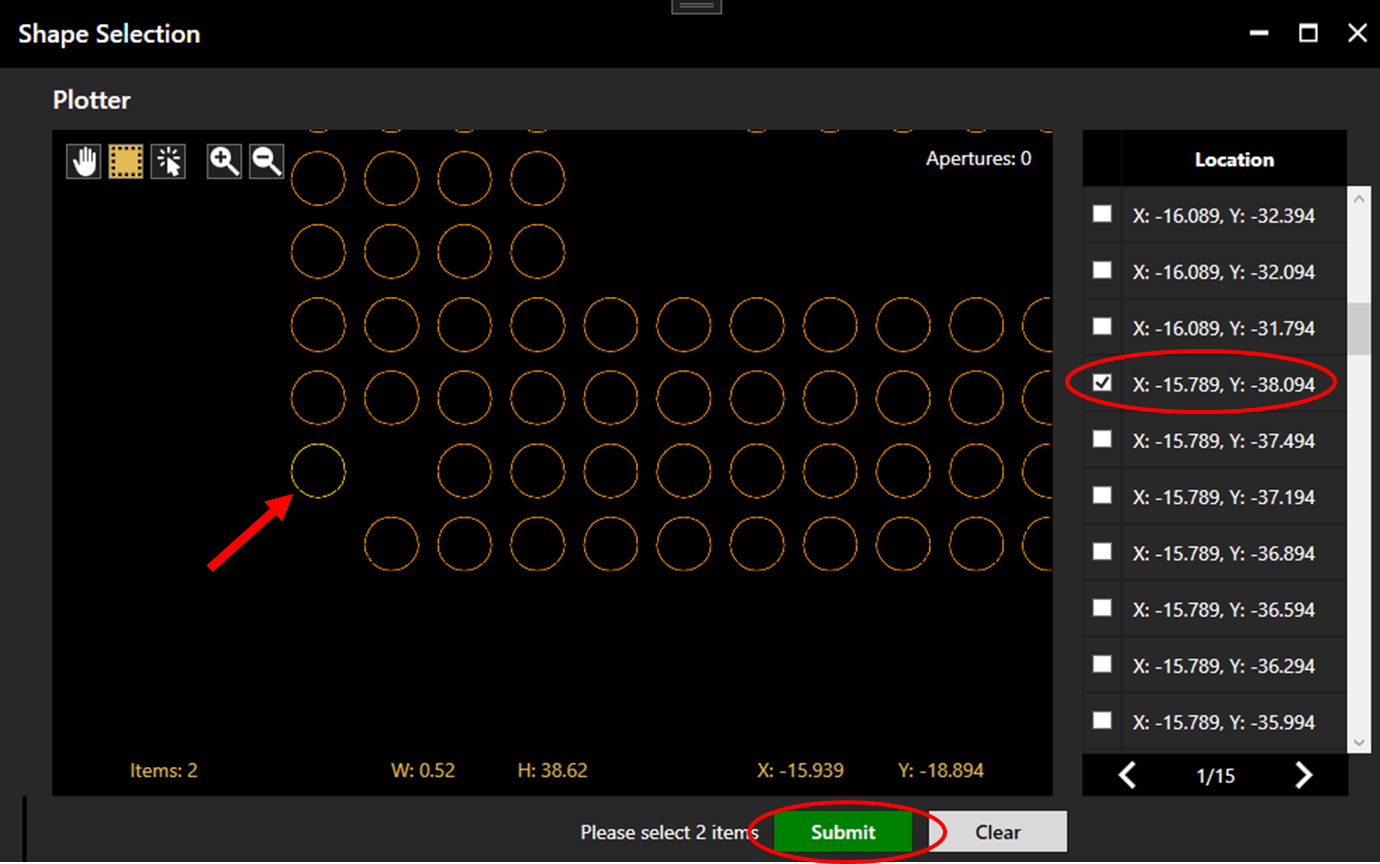
If the alignment file contains more than one aperture, the operator will be requested to select alignment points by clicking two apertures within the plotter or the location list. Chosen apertures will be coloured yellow. For more detail on the alignment process, see Alignment.
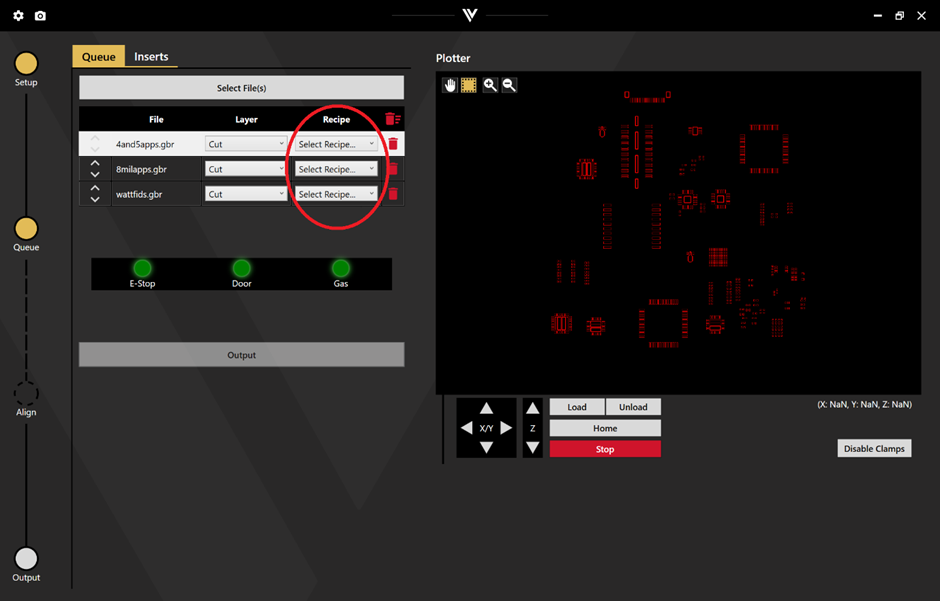
The recipe can be selected from the drop-down in the file queue.
The order of the processes can be manually adjusted using the arrow keys.
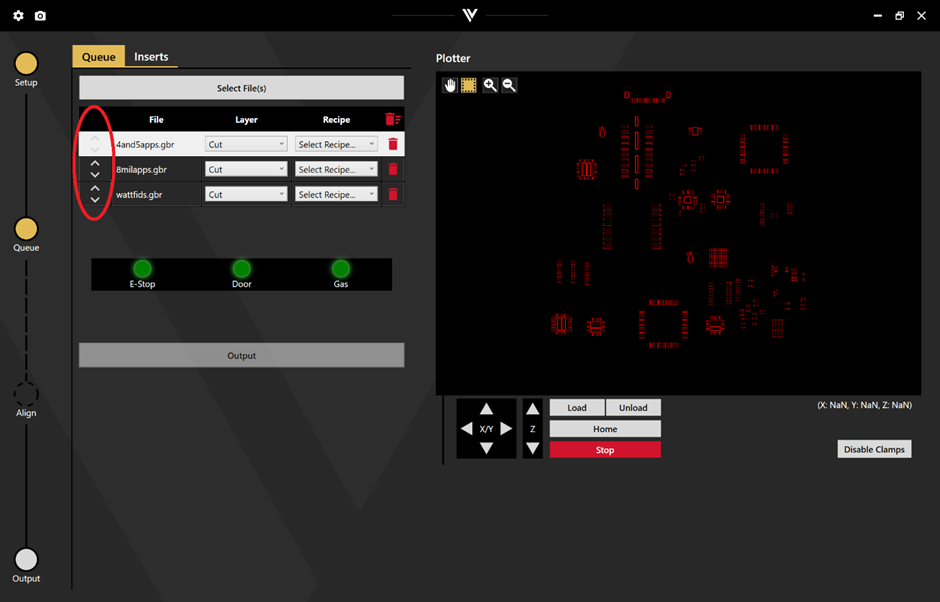
If you select the wrong file or want to clear the file queue you can delete using the trash can in the file queue.

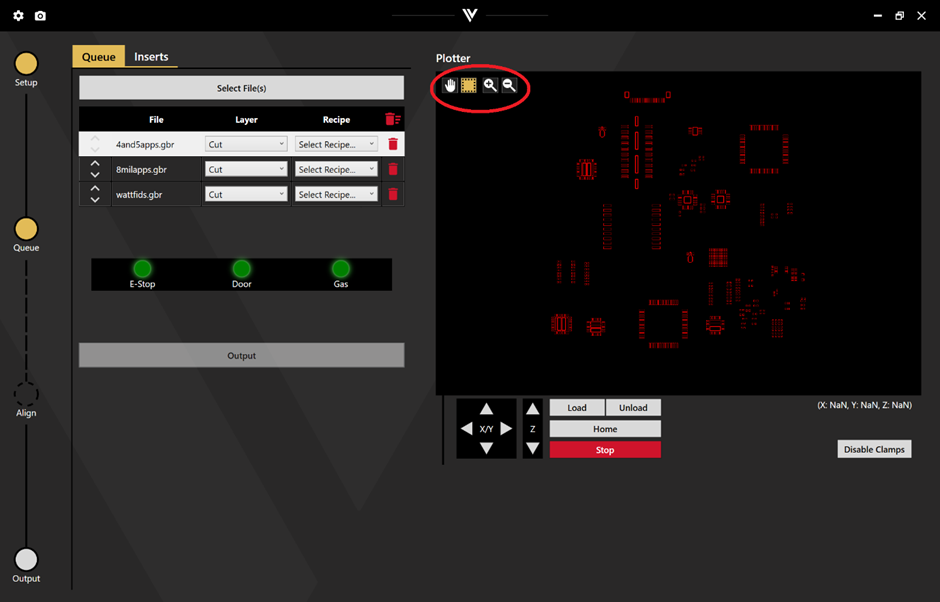
The files populated in the file queue will show in the plotter on the right-hand side of the screen. This is interactive and you can pan, zoom and inspect individual apertures.
The 3 safety lights ensure that you cannot output while the E-stop is actuated, the door is open, or the cutting gas is not up to a sufficient pressure.
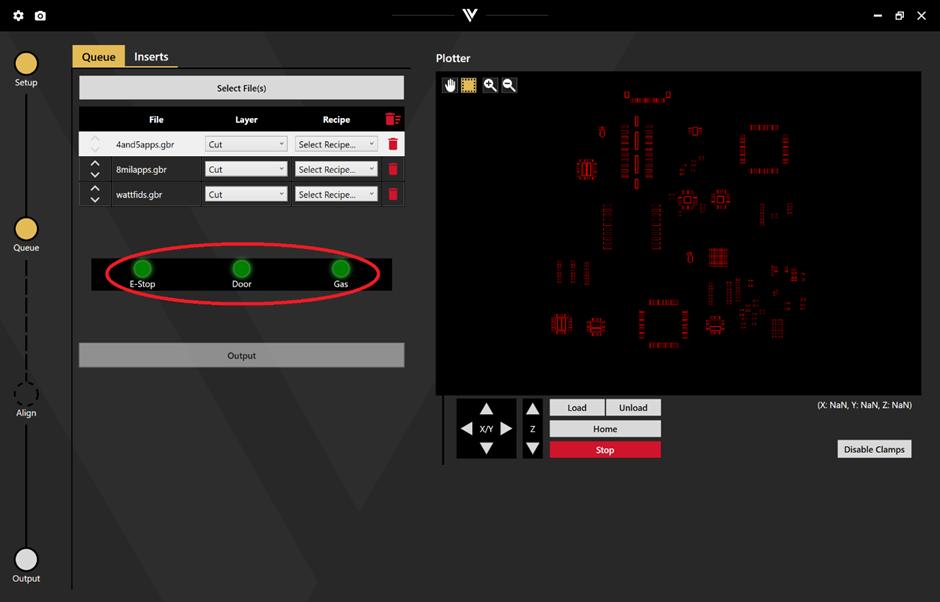
Once all 3 lights are green, click output to begin cutting.