TABLE OF CONTENTS
Setup
Load the Stencil.
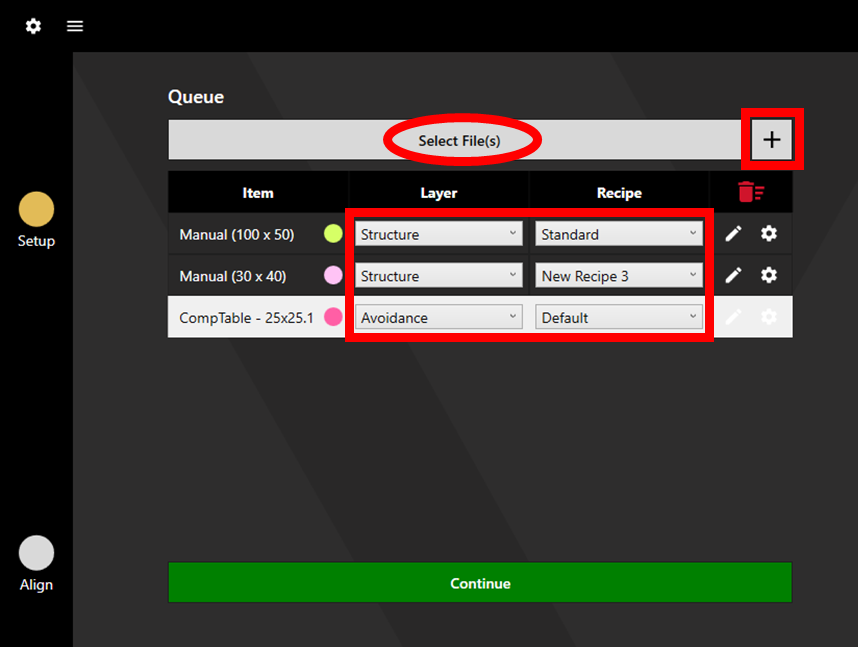
Click Select File(s) and load the structuring file. Set the Layer to Structuring and choose the appropriate recipe for the desired Structuring Settings.
Additionally, Manual Structuring Areas or Structuring Areas from Cut Files can be added via the plus icon.
If using an alignment/avoidance file, also load this in and set the layer to Alignment/Avoidance. If the alignment points are within the structuring area, it is recommended to set the layer to Avoidance to ensure structuring is not attempted on the fiducial apertures. The avoidance layer doubles as an alignment layer unless an alignment layer is used.
If using an avoidance layer, ensure the Default Fiducial Margin setting is appropriately sized. (Structuring Settings).
If using an alignment/avoidance file, choose the appropriate recipe for the desired Camera Lighting Settings and Detection Settings.
The created queue will be displayed in the plotter.
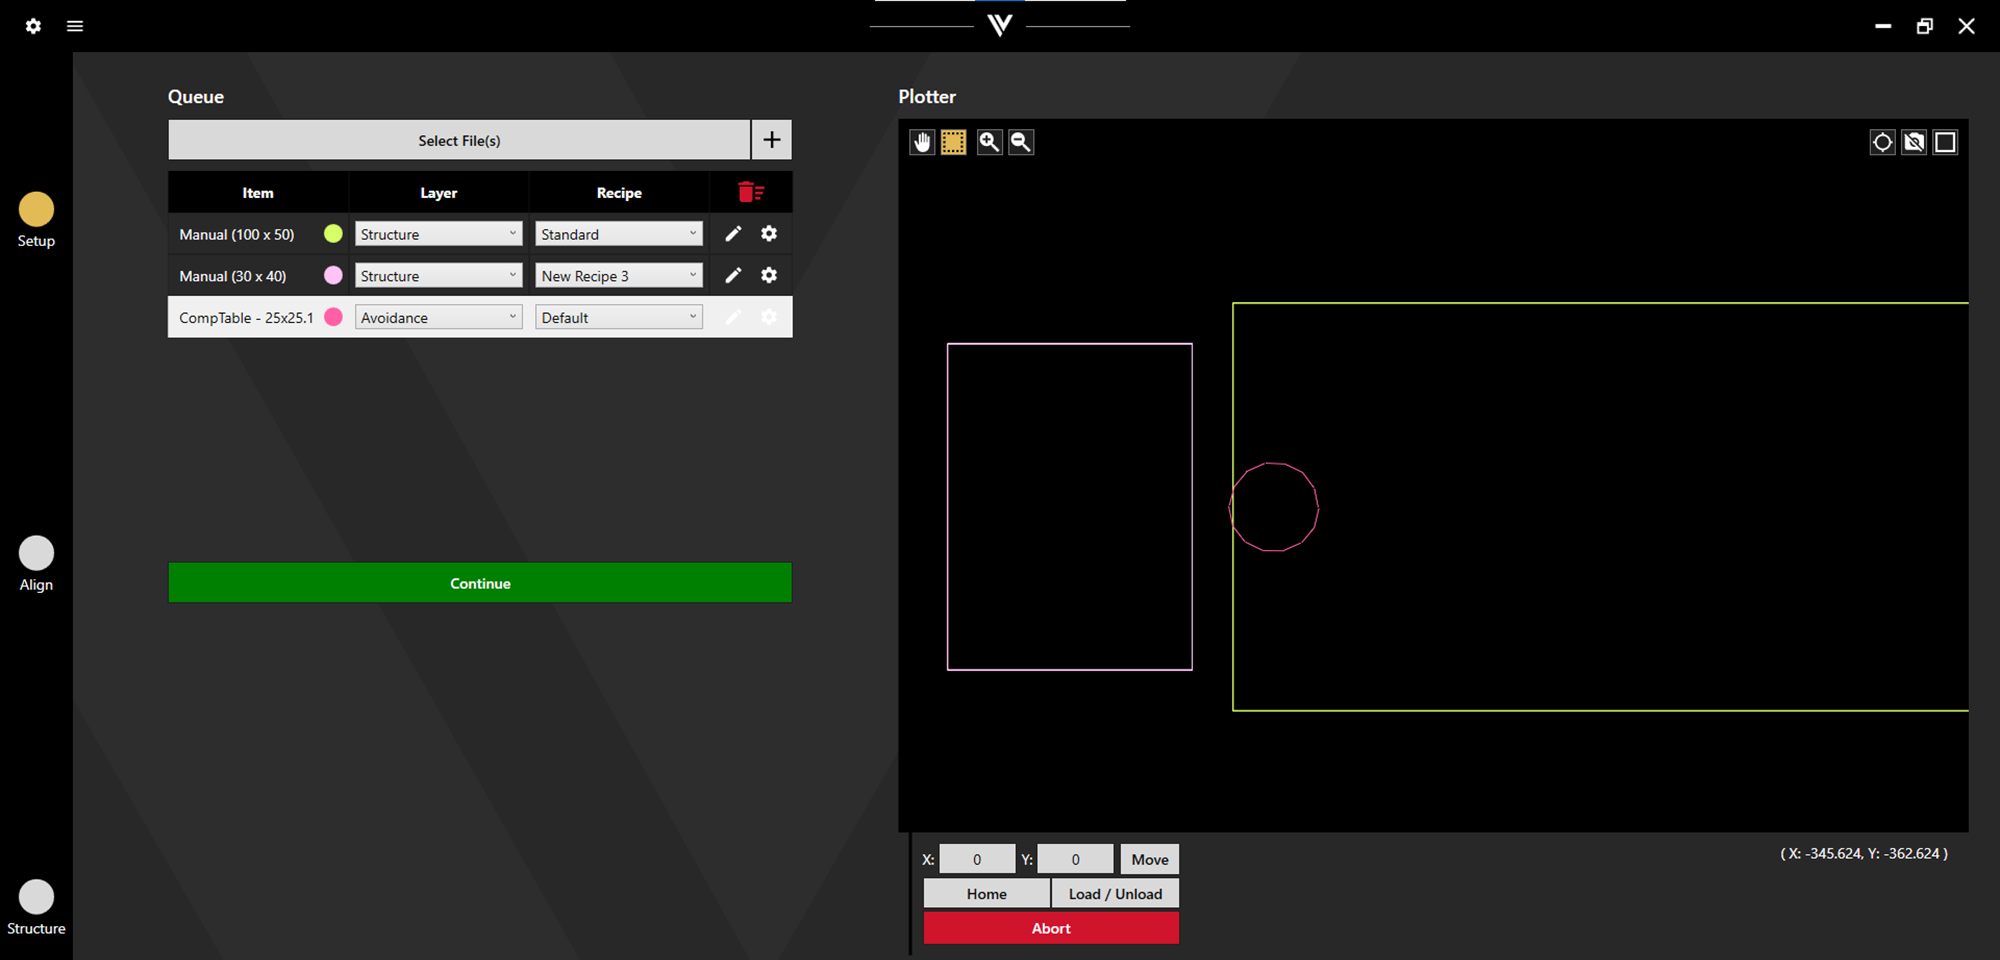
Click Continue to proceed.
Alignment
If an alignment/avoidance file is not used, skip to the Output stage.
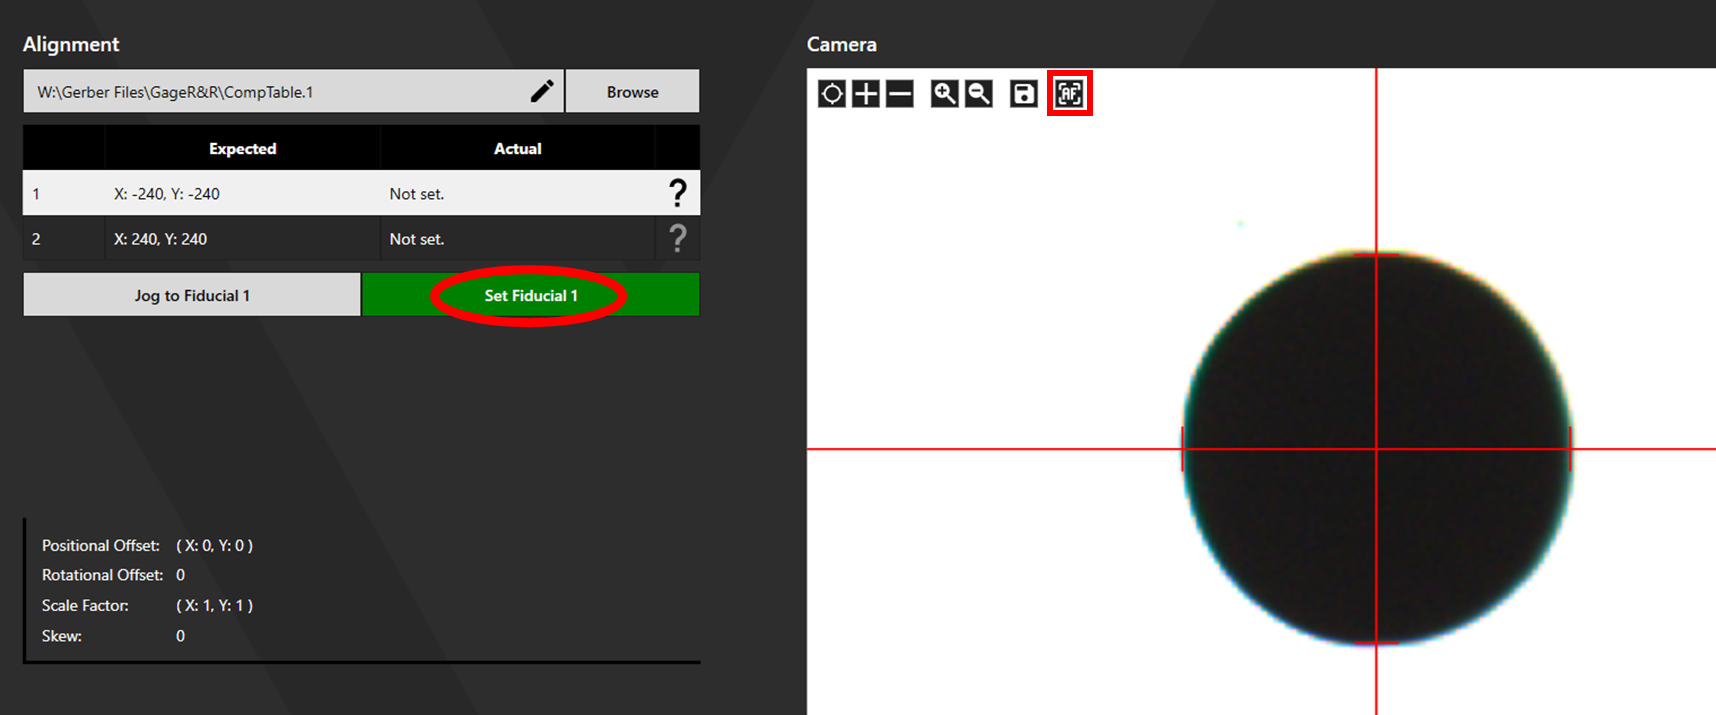
The camera will jog to the expected location of the first fiducial. Auto Focus the camera (Note: The SE12 does not have autofocus - it should already be in focus), then align to the fiducial and click Set Fiducial 1.
The camera will then jog to the expected location of the next fiducial for alignment.
The SE12 requires that backlash is removed during alignment. More detail on this and the alignment process is available here.
Once all fiducials are set, click Continue to proceed to the Output stage.
Output
The structuring layers will be displayed in the Queue and in the Plotter.
Click Preview to view the planned structuring path using the guide laser. If this is acceptable, lower the cone and click Output to begin structuring.
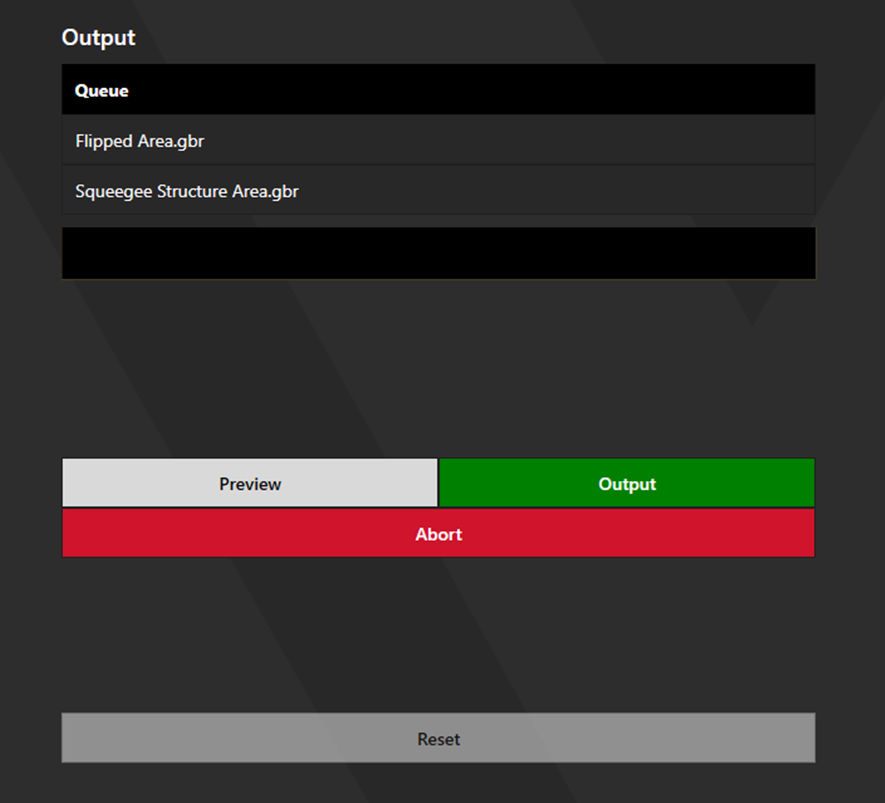
Click Abort to end the preview or output early. Click Reset following output to return to a blank Setup screen.