To update the Watt Laser Suite, see the Checking For Updates article.
The latest Watt Laser Suite installers can be found at:
The SC12 cutting software, WattCut, can be downloaded here:
Make sure to download the correct installer for your hardware. These are not cross compatible.
This guide was written for the Watt Laser Suite. However, most steps will be the same for WattCut, except where specified.
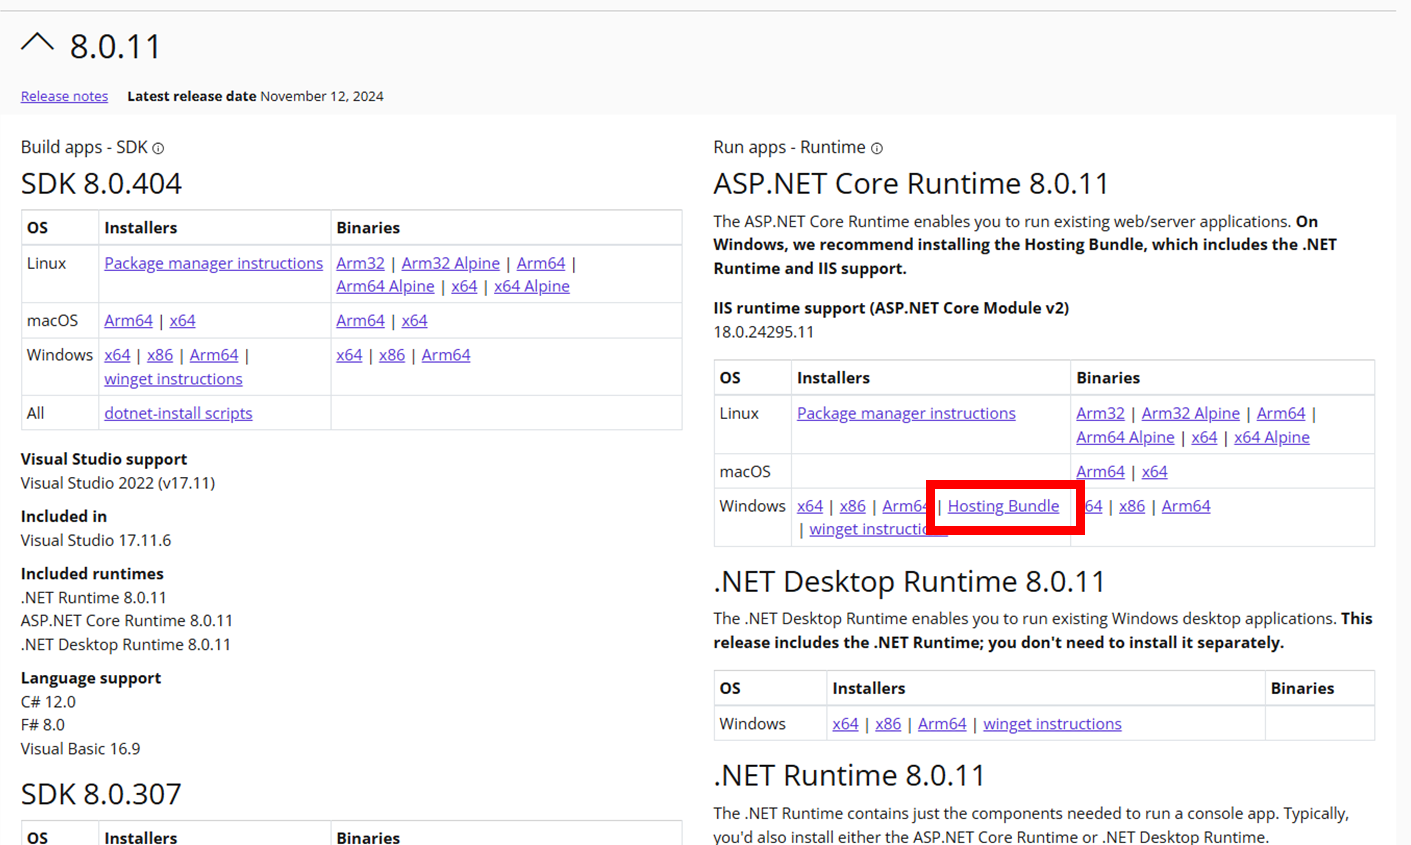
Additionally, the .NET Hosting Bundle is required for install and can be found here:
Step 1: Run "setup.exe"
To begin installing the suite, first extract the zip file. It will be named in the format: "WattLaserSuiteInstaller_v0.6.7-x86.zip".
Next, run the file "setup.exe" containing within the extracted folder.

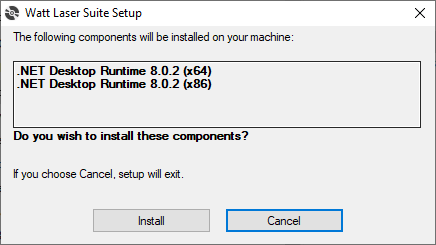
Step 2: Install Dependencies
The installer may then ask to install the ".NET Desktop Runtime", or similar.
If you are upgrading an existing WL Suite installation, this window may not appear. Instead, skip to step 3.
Otherwise, click the install button.
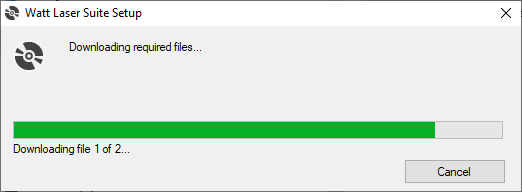
The installer will then download the required files, this may take a few minutes to complete.
This step may fail if there is no active internet connection to the PC. If required, the .NET Desktop Runtimes can be downloaded manually from Download .NET 8.0 (Linux, macOS, and Windows) (microsoft.com).
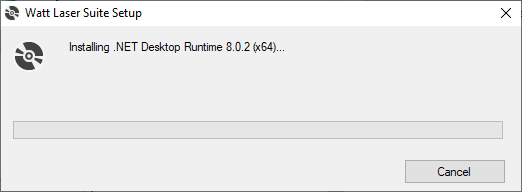
You may then be prompted to allow the installer to make changes to your PC.
Select "Yes" and installation will continue. You will need to repeat this for each dependency listed prior.
Once all dependencies are installed, continue to step 3.
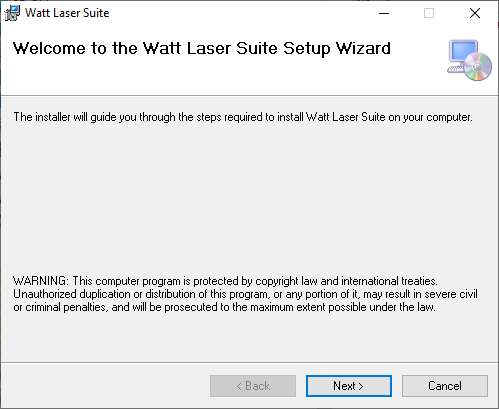
Step 3: Install the Watt Laser Suite
The Setup Wizard for the Suite will then appear. Click next to start the installation.
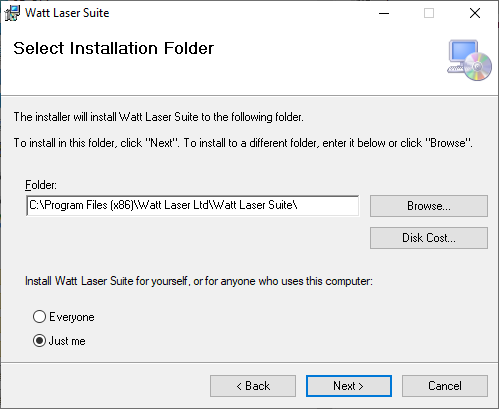
You will be prompted to select an installation folder. It is recommended to leave this set to the default location.
The Suite can be installed for all users on the PC or just the current user. Select this as required and then click "Next >".
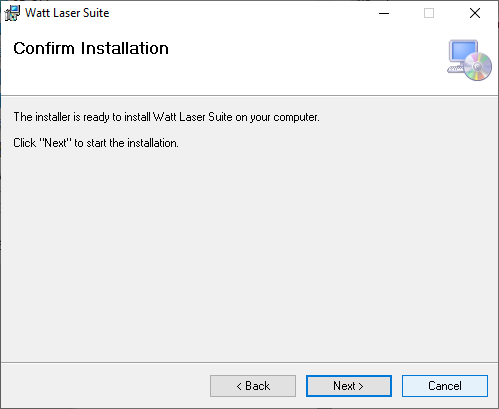
At this step, just select "Next >".
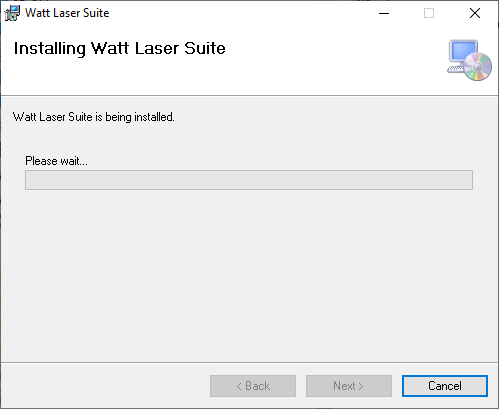
You will likely be prompted again to allow the installer to make changes to your PC.
Choose "Yes" and installation will begin.
Once installation is complete, the installer can be safely closed.
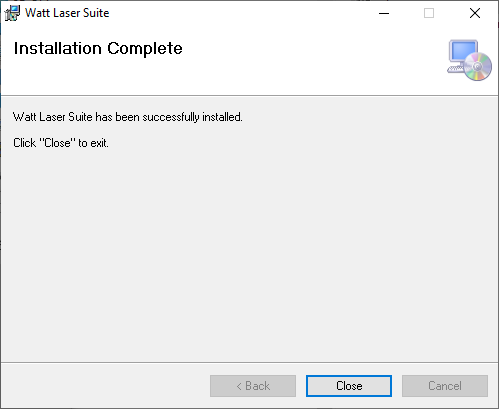
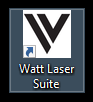
If successful, a shortcut for the Watt Laser Suite will appear on the desktop.
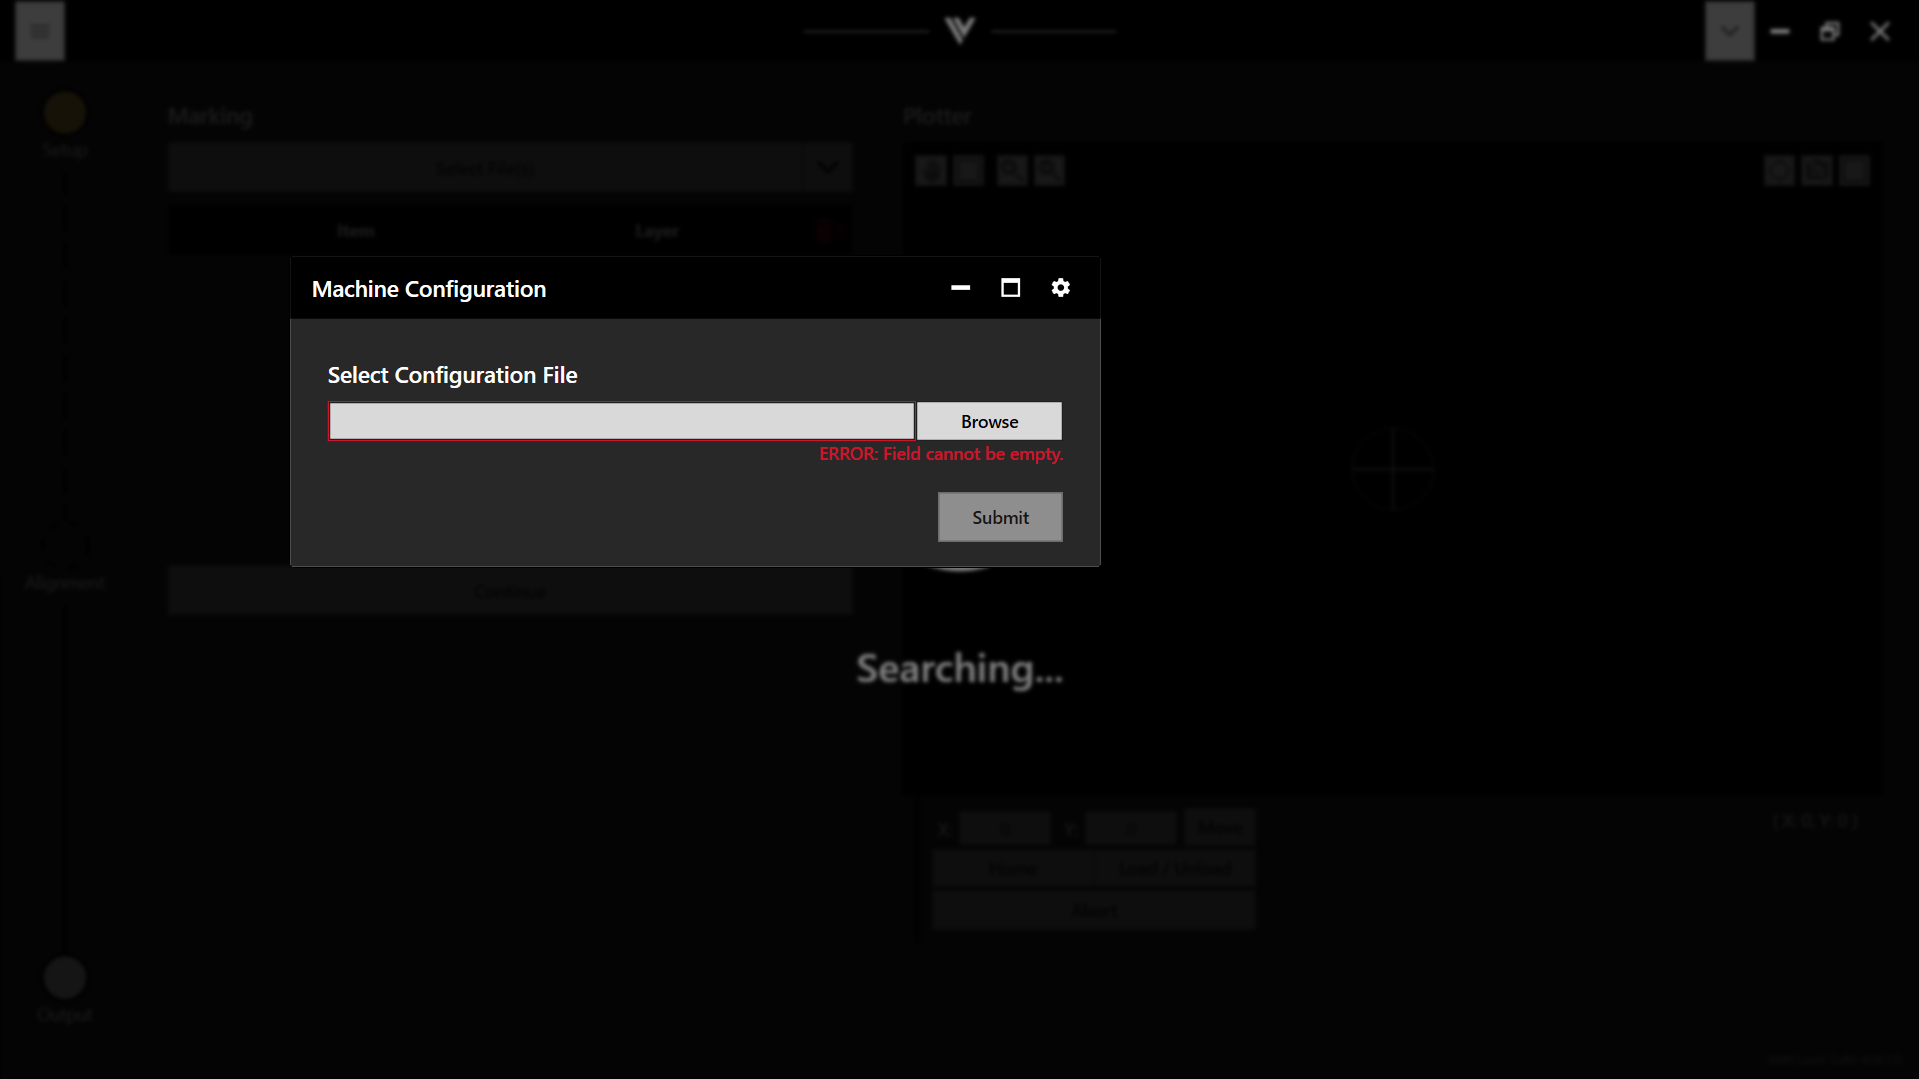
Step 4: Selecting your machine configuration
The first time the suite is launched, you will be prompted to select a machine configuration file.
(If you are installing WattCut, this step can be skipped.)
Clicking "Browse" should display a list of standard machine files. Select the one which corresponds to your machine.
If you have previously installed the Suite, and are updating to a new version, you shouldn't receive this prompt.
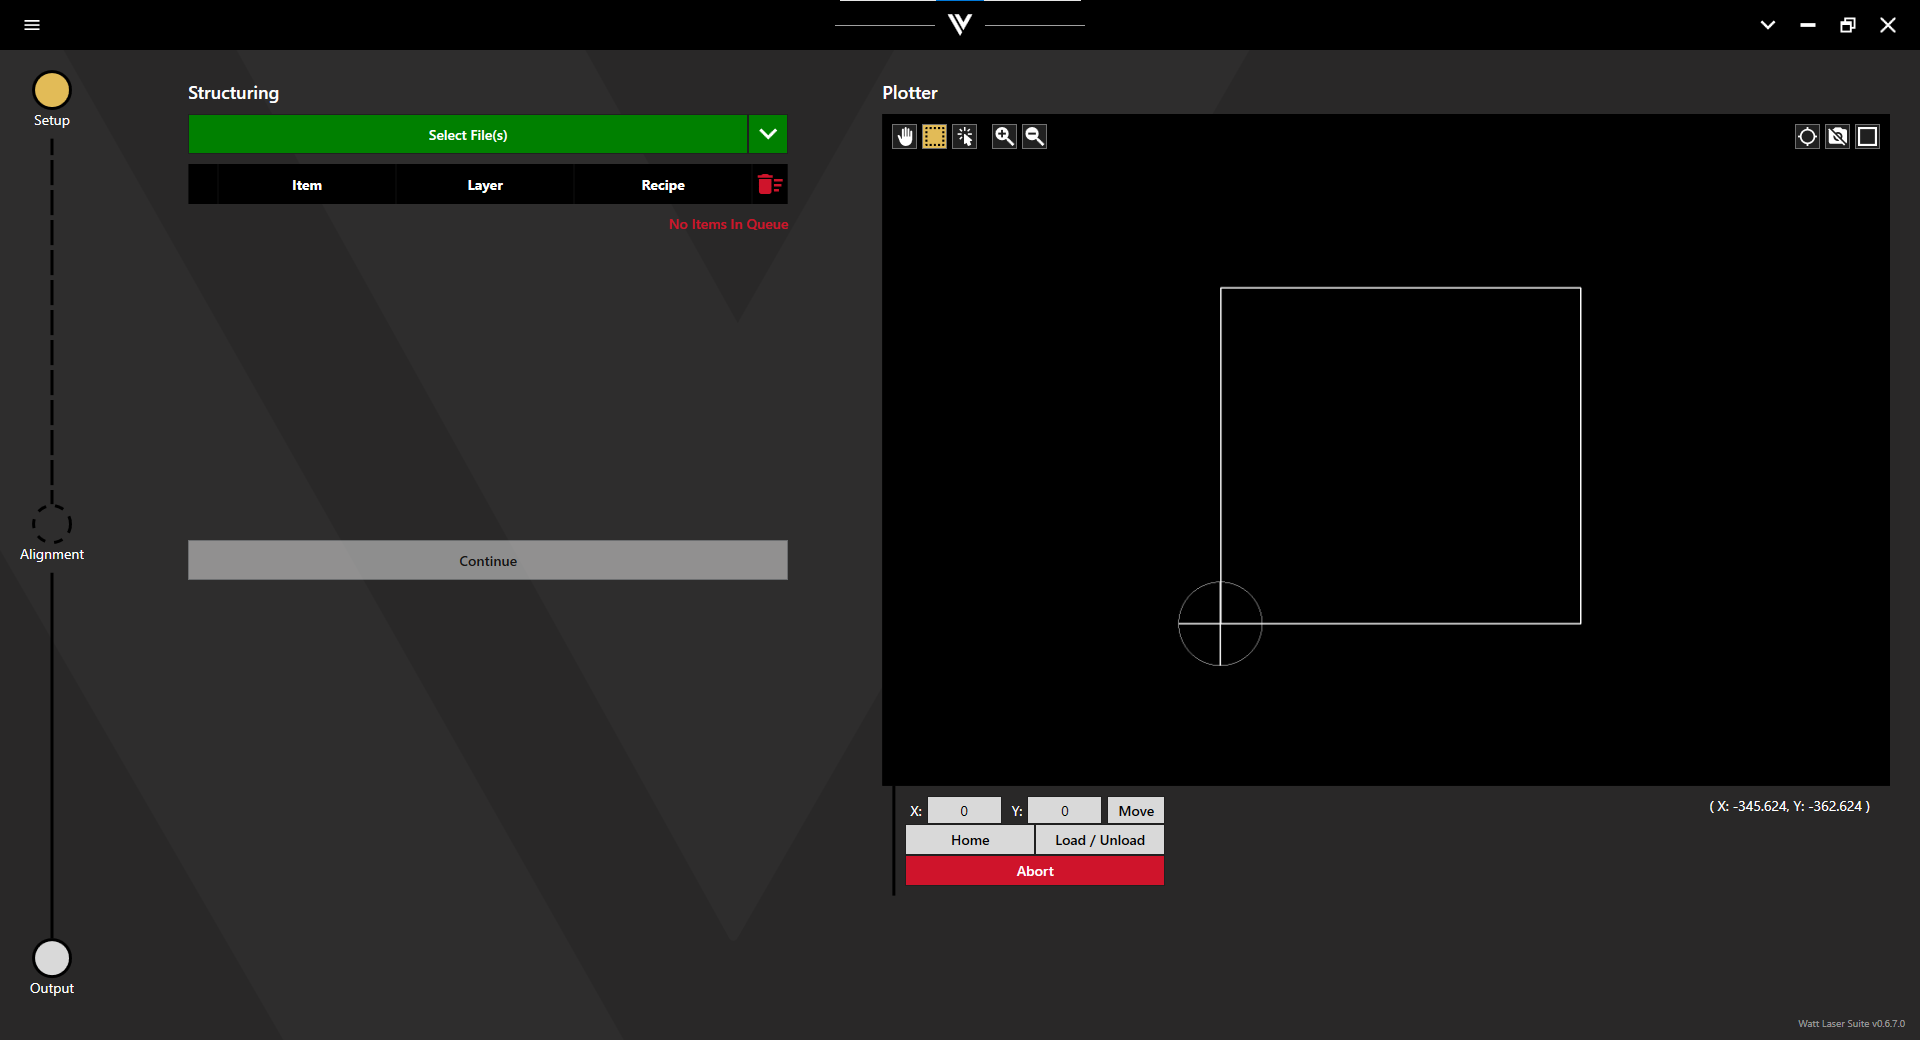
The Watt Laser Suite is now fully installed and ready to use.
Step 5: First time calibration
While you are now able to use the suite in full, if you are installing the Watt Laser Suite for the first time, you will want to look at the following articles to fully calibrate the app:
- Calibrating Camera Lighting
- Calibrating Detection Settings
- Calibrating Pixel Scale
- Calibrating Camera Offset